Getting started with Toko Laundry
Sign in, create your business, then set up a branch, services, WhatsApp and your team.
Toko Laundry is the counter and management app for a laundry. The cashier creates an order at the counter, the customer pays in full, and the receipt arrives on the customer's WhatsApp.
For owners and admins who set up the business, and cashiers who create the first order.
Steps to sign in
Press Sign in with Biwara and sign in with your Biwara account. Its email must be verified. If the Sign in page asks for Email address and Password, fill in both: a member the owner made with Create account signs in this way. See account and profile.
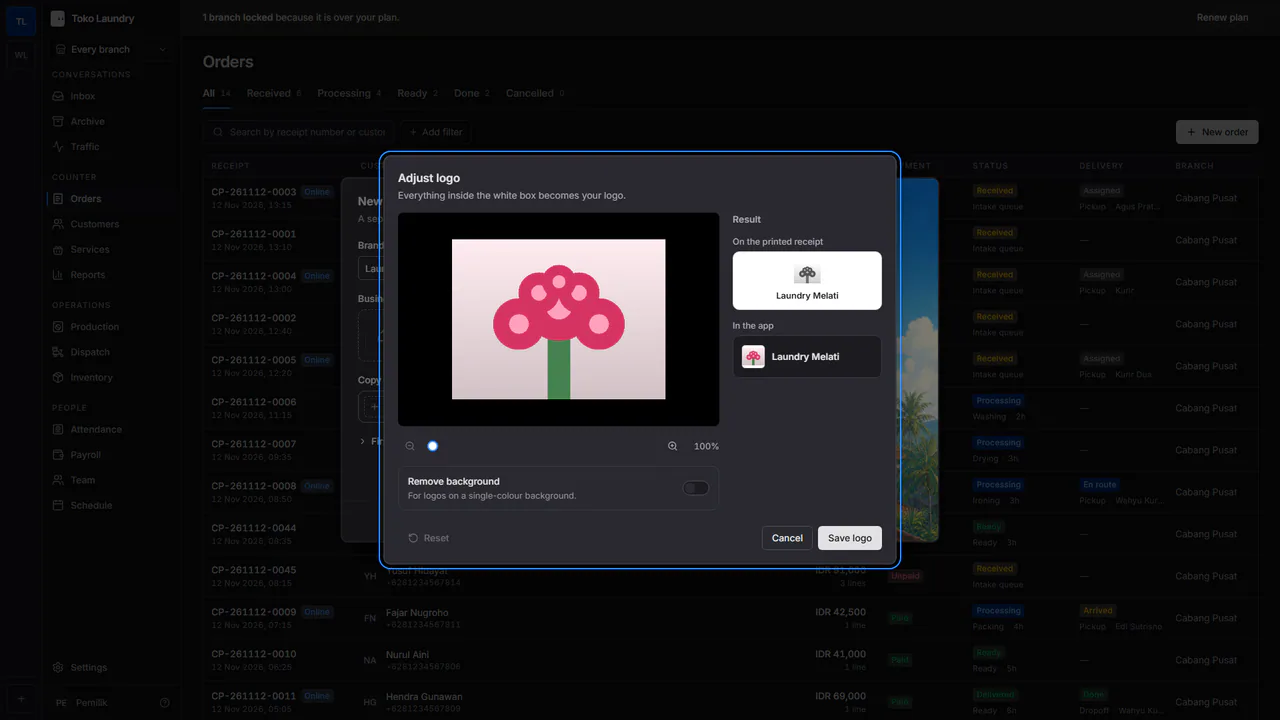
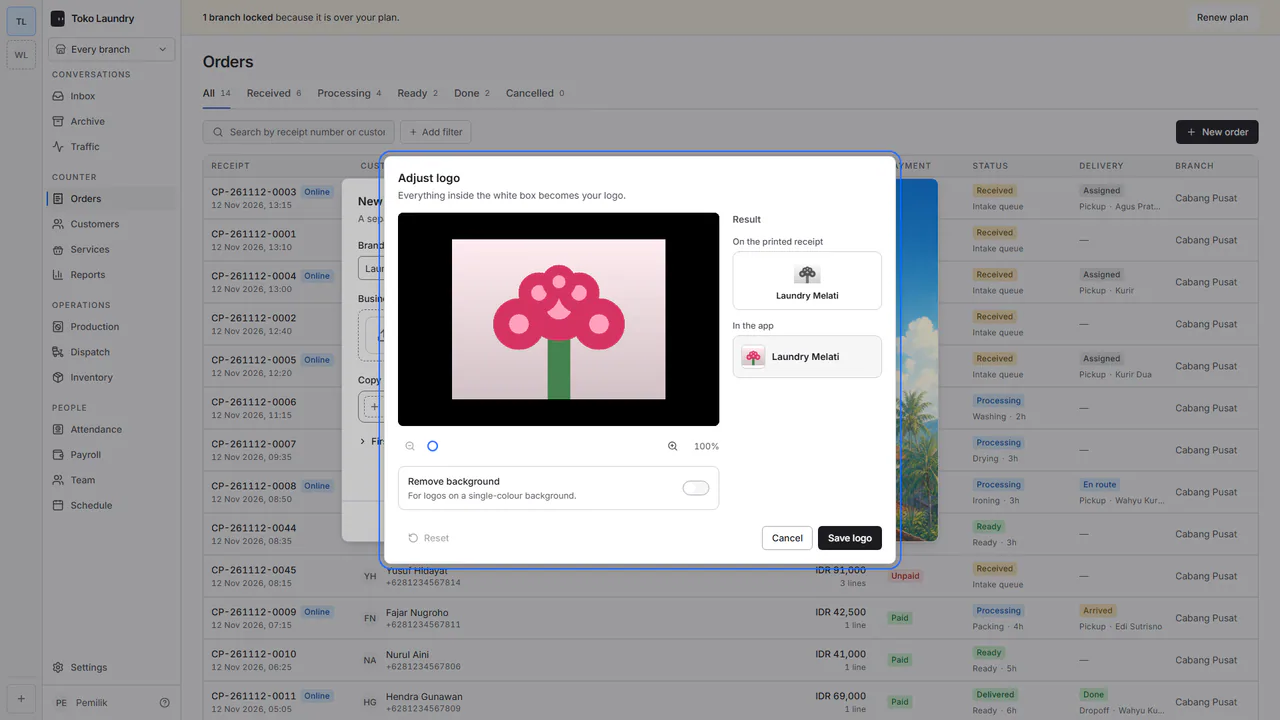
A new laundry owner starts from Start free on this site, which opens Biwara's sign-up page. Once the Biwara account exists, you are asked to Create your laundry business. Fill in Business name and watch it appear on the sample receipt beside the form. Business logo can be skipped. Drag an image onto the logo box or press choose a file. The Adjust logo dialog opens the whole image inside the white box, so a tall or wide logo is not cut off. If you want only part of it, move it by dragging or with the arrow keys, and zoom up to four times with the - and + buttons; Reset brings it back. A logo on a single-colour background can be cleaned with Remove background. Result shows the logo On the printed receipt and In the app, with your business name. Press Save logo, then Start free. The business starts with one branch on the Free plan.
Working at a laundry that already uses Toko Laundry? Ask its owner to invite you from the Team page, then accept the invitation as shown in account and profile.
Steps to set up the business
Open Settings > Business. Upload a logo (the same Adjust logo dialog as when you created the business), fill in Business name, then press Save. This name is printed on the receipt.
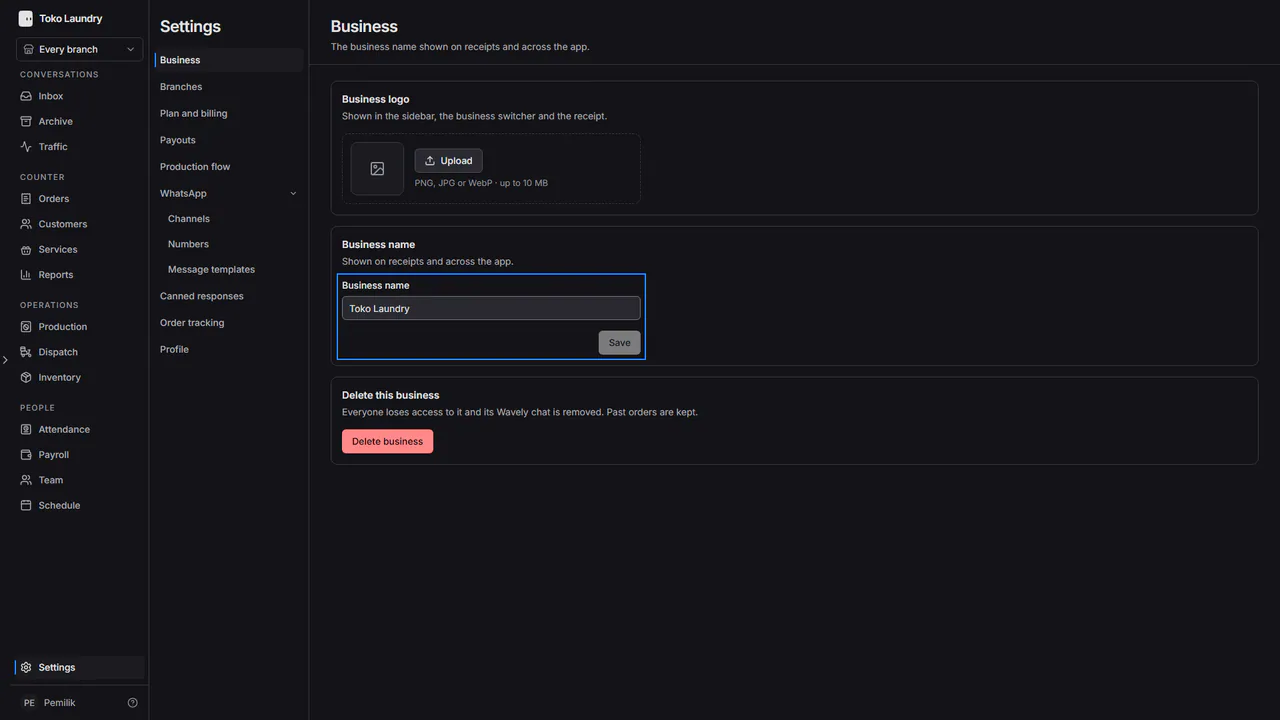
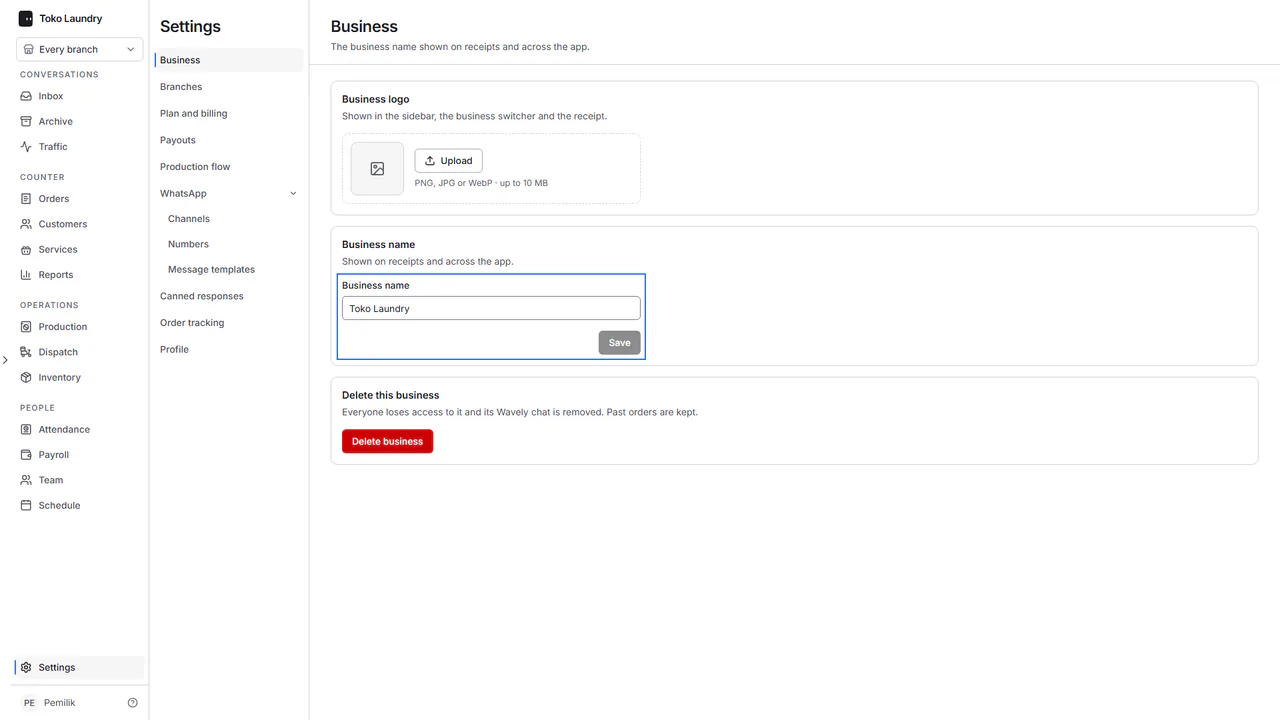
Open Settings > WhatsApp > Numbers, press Add number, then link the phone of the business WhatsApp number. Do this before setting up the branch, because a branch only picks a number that already exists. See WhatsApp for customers.
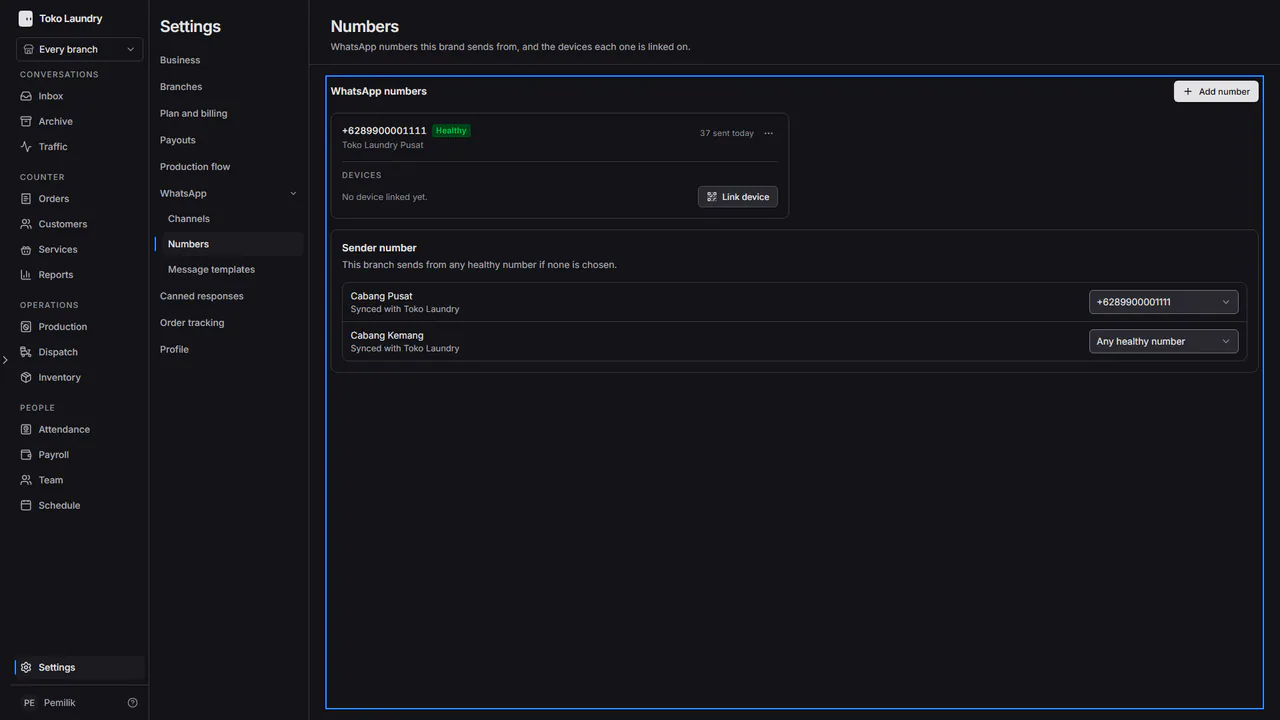
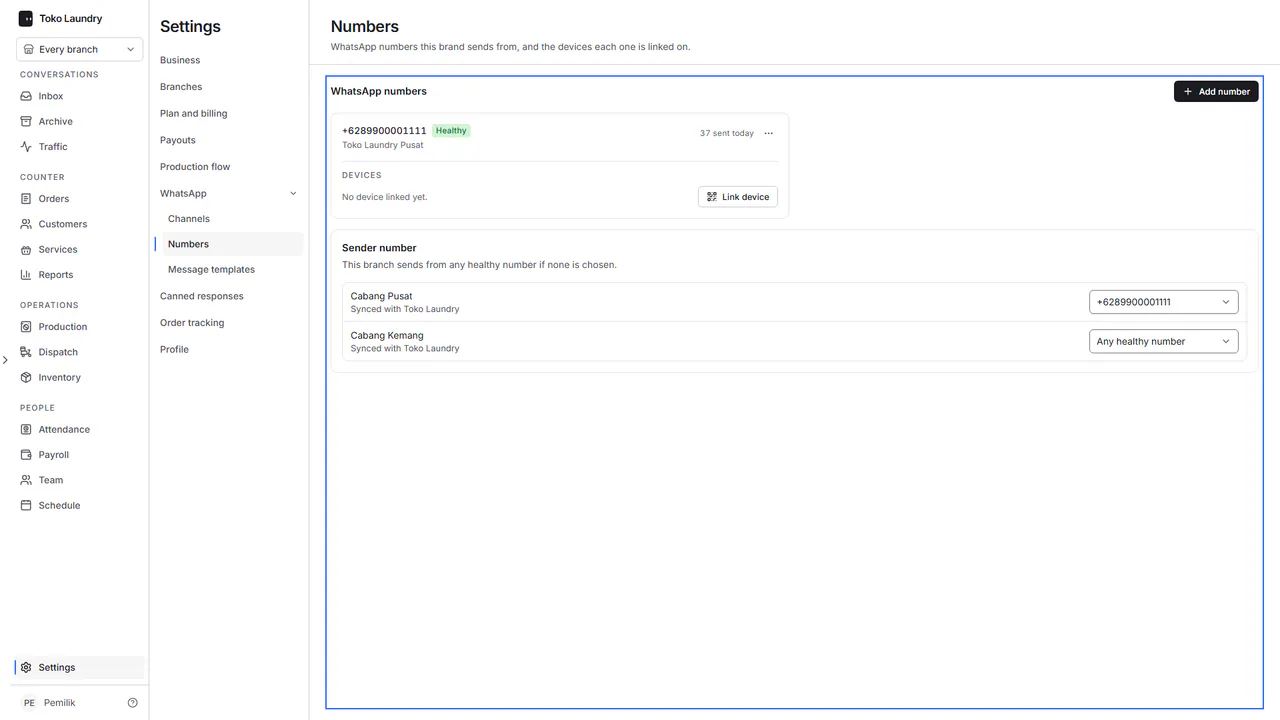
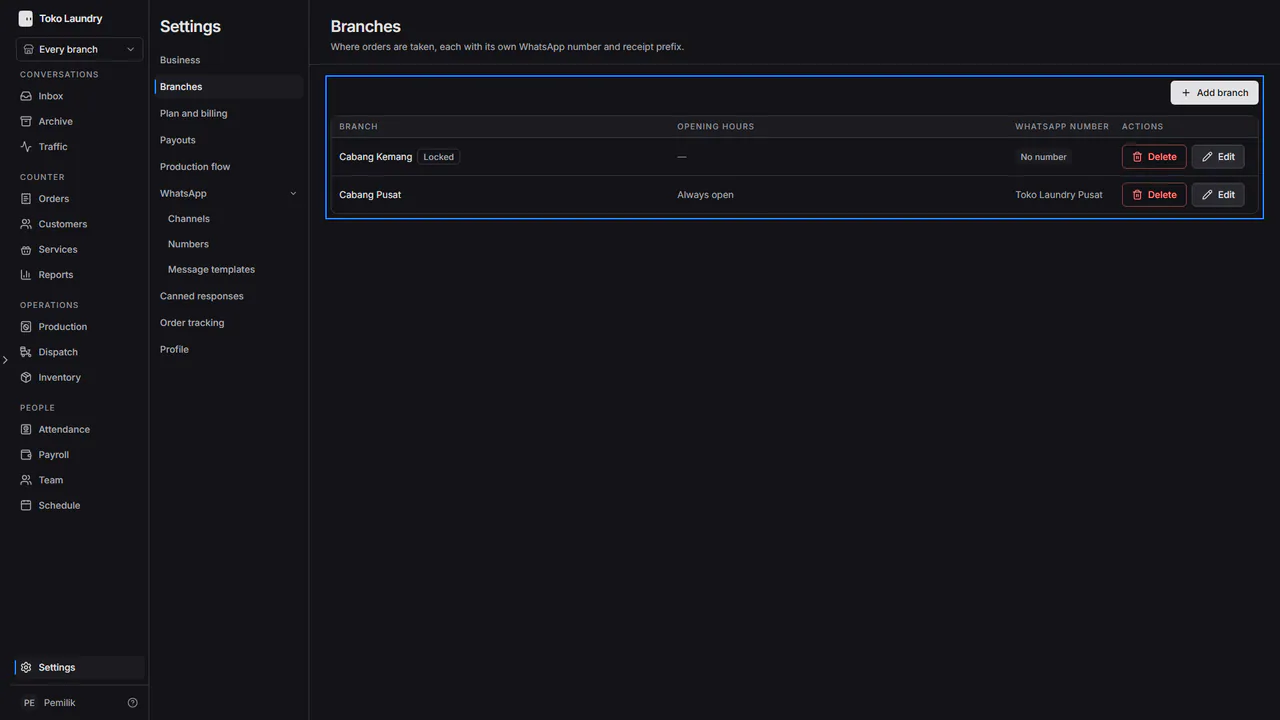
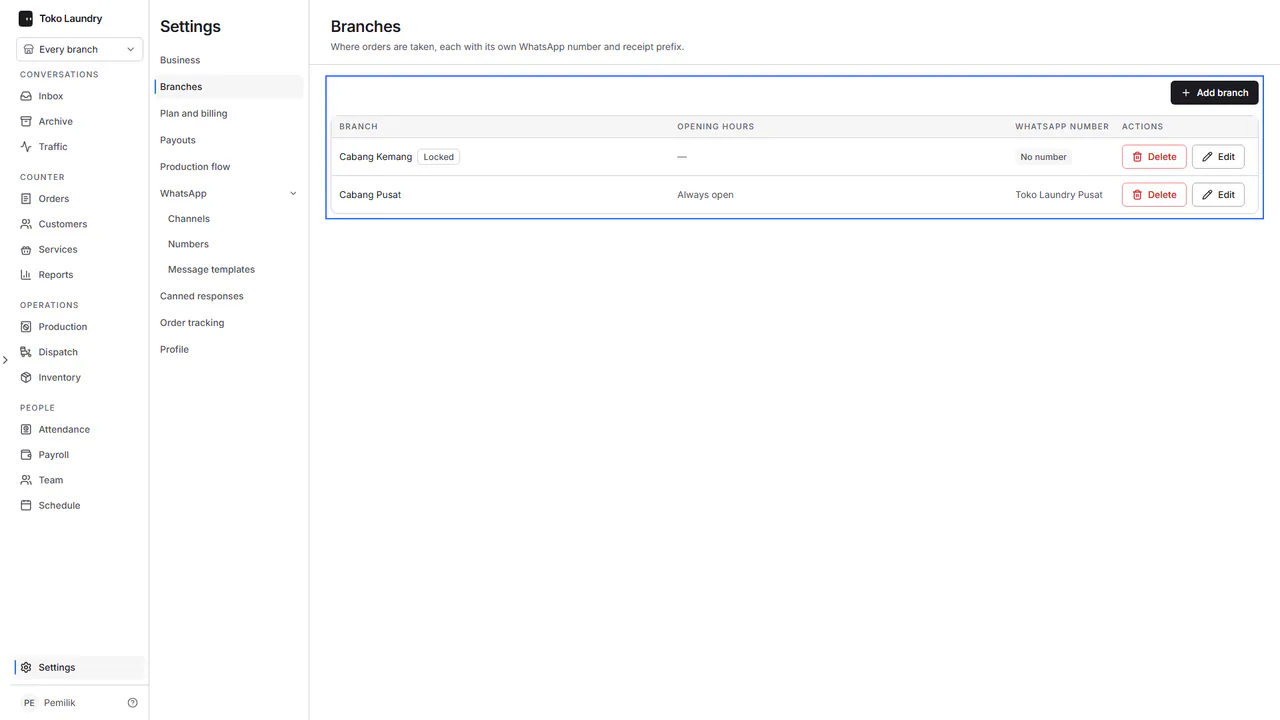
Open Settings > Branches and press Edit on the first branch. Fill in the address, opening hours and receipt number prefix. In the WhatsApp tab, pick the number from the previous step. Without a number, that tab only holds an Add WhatsApp number link. See branches and team.
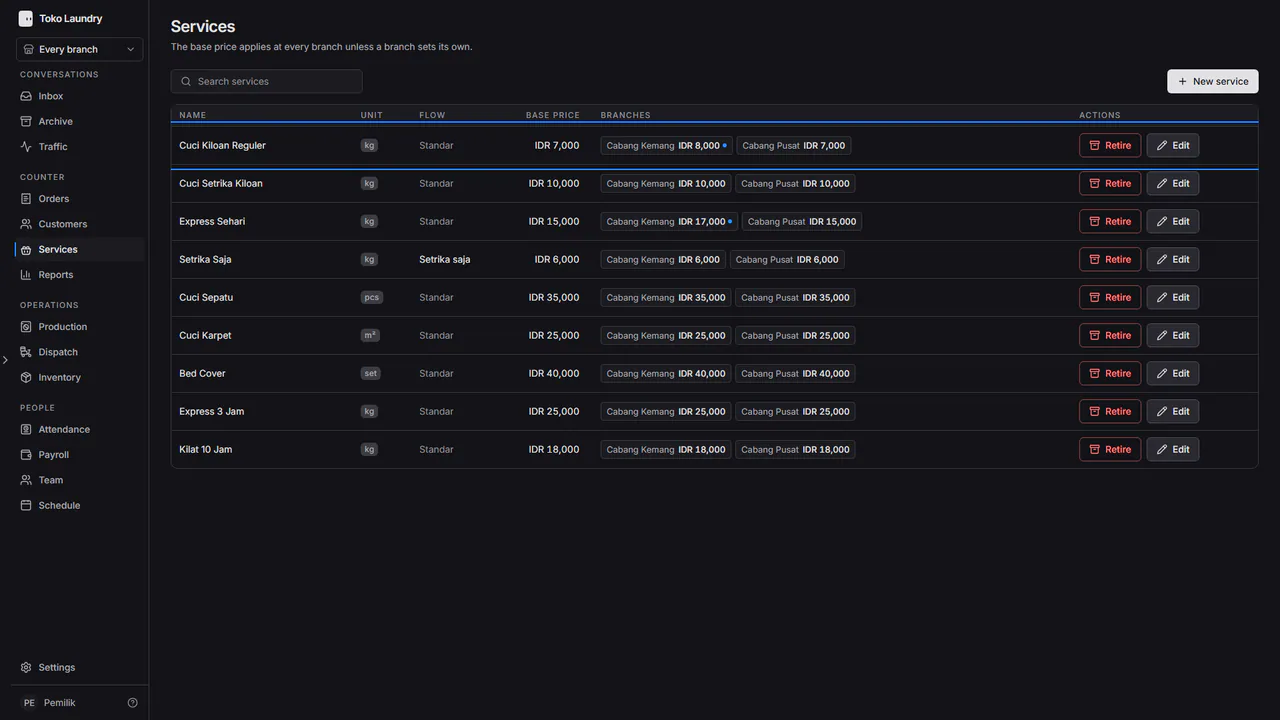
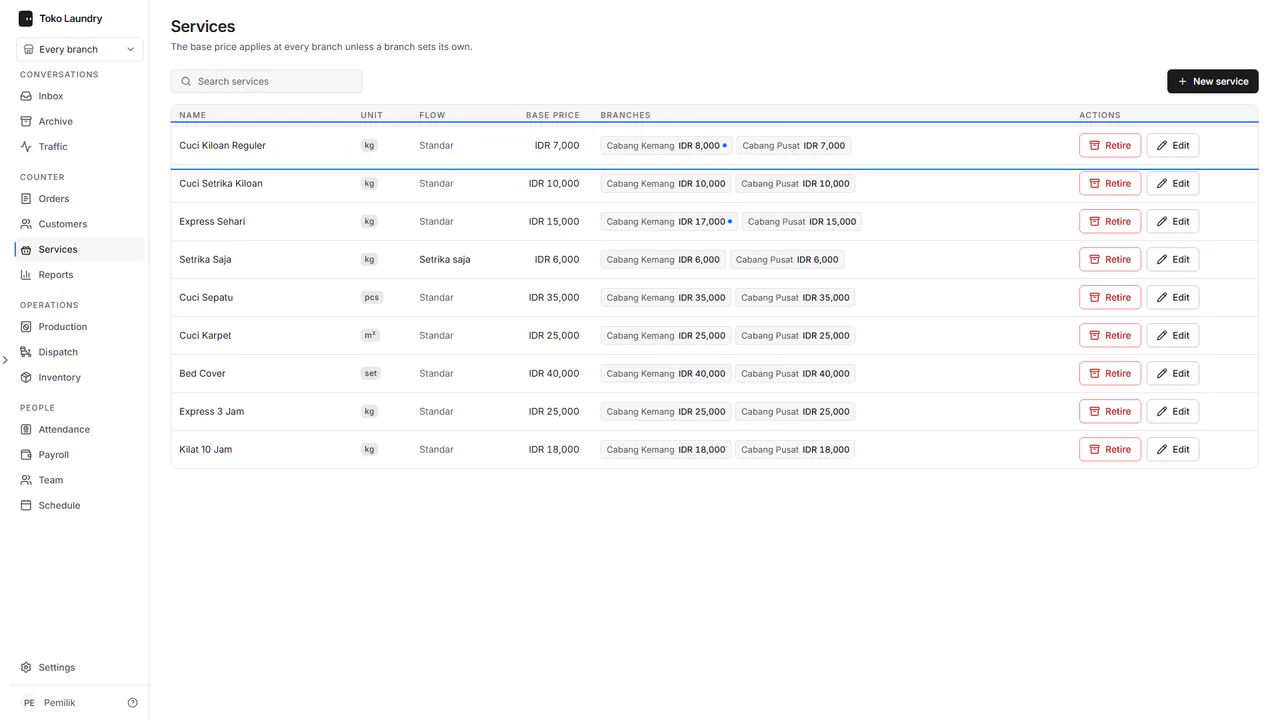
Open Services and press New service for every service you sell. Fill in the unit and the Base price.
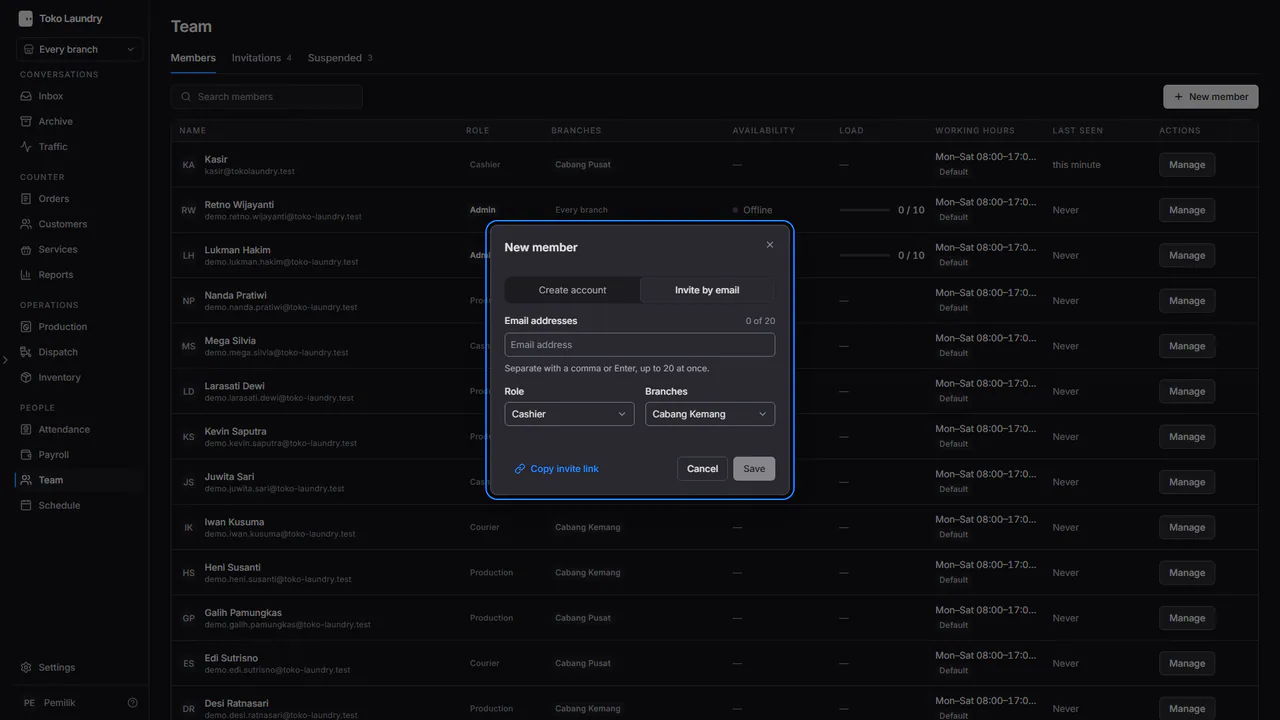
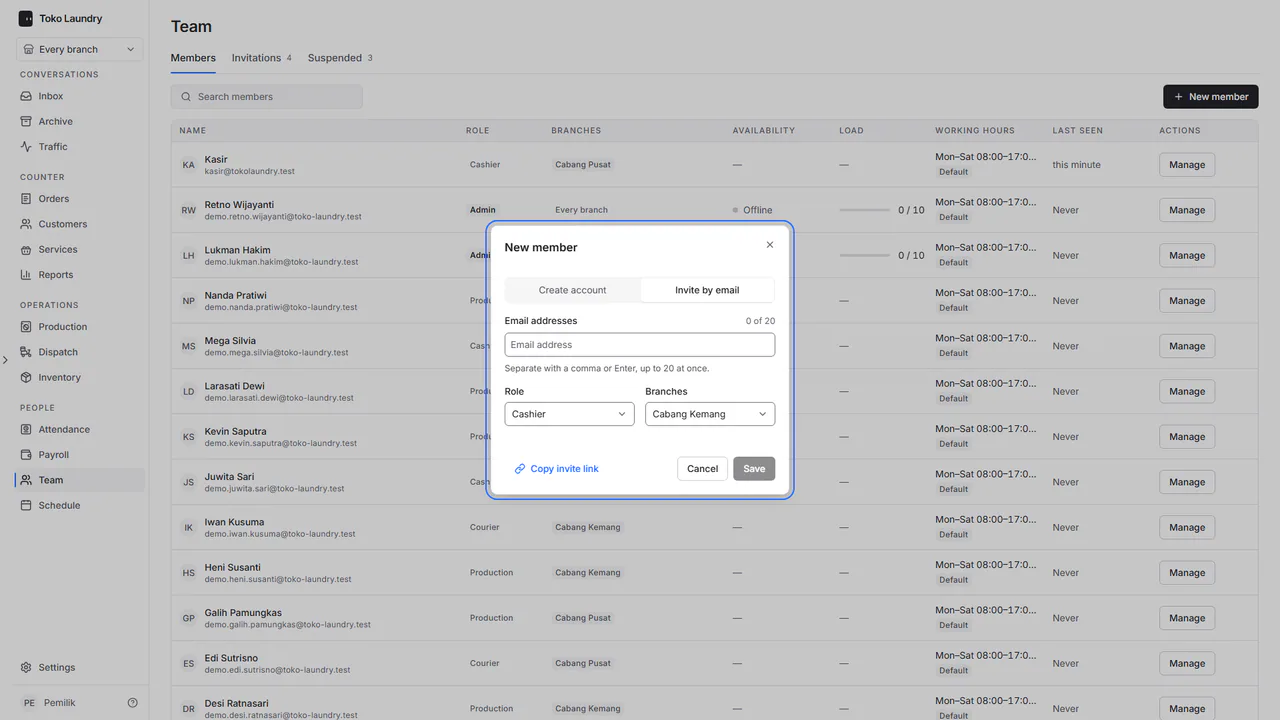
Open Team and press New member for cashiers, production staff and couriers. Create account makes the member's account straight away, while Invite by email sends an invitation they accept themselves. Pick their role and branch. Add members once the branches are ready, because every member is placed in a branch.
Steps for the first order
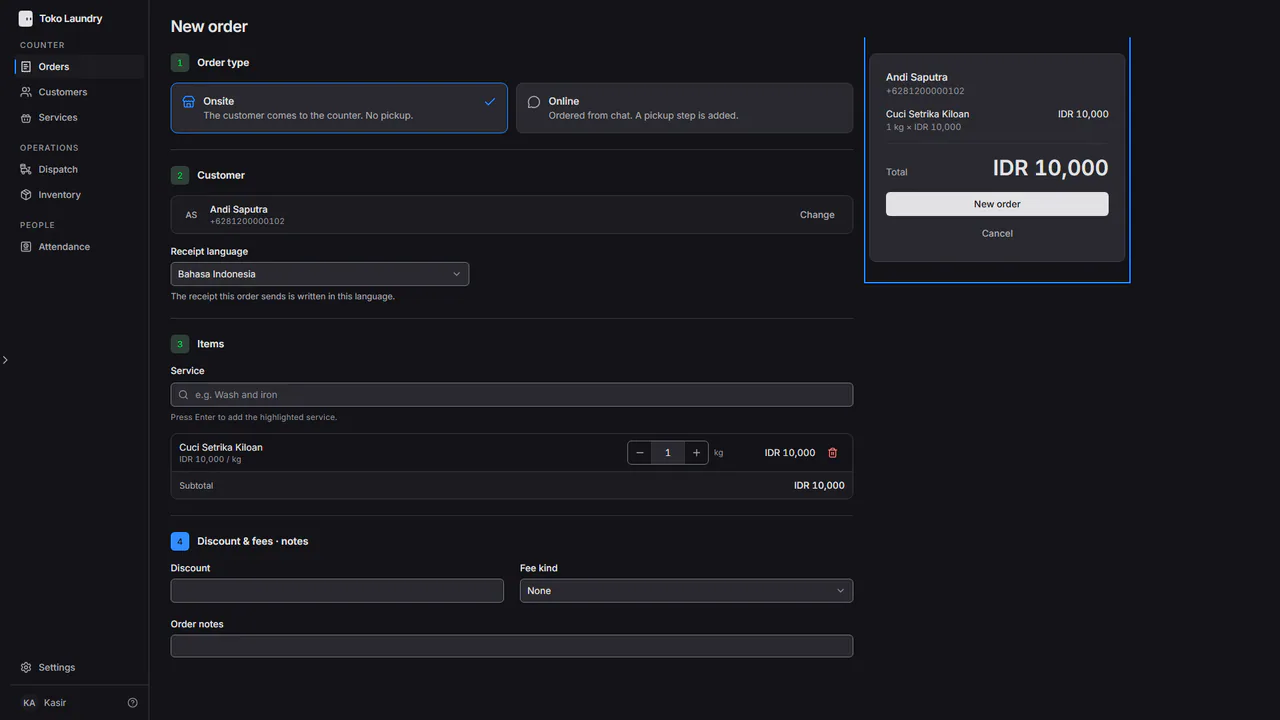
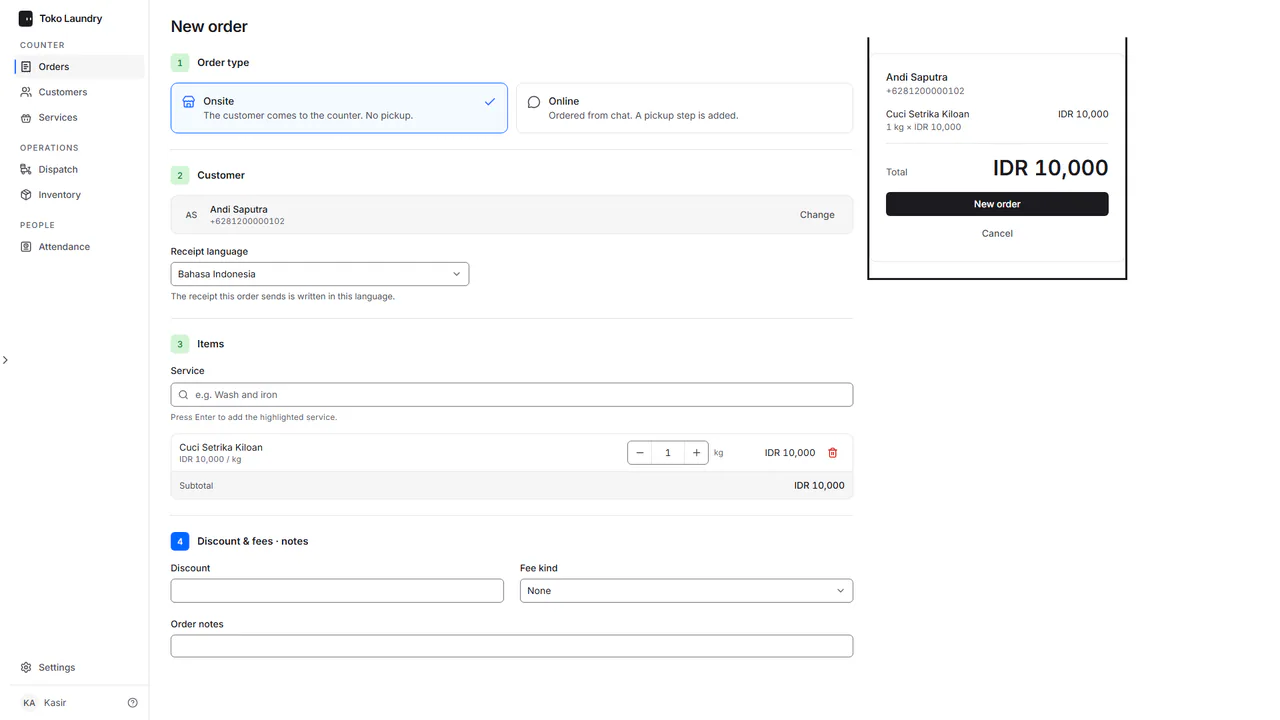
Open Orders and press New order. Pick the customer and the services.
Press New order in the summary. The payment page opens with a QRIS for the full amount. See taking payment.
Page tours
The first time you open a page, a short tour points out its main parts: a small card beside the highlighted area. Press Next for the following step, or Skip tour (or Esc) to stop. The Orders tour walks you through recording your first order.
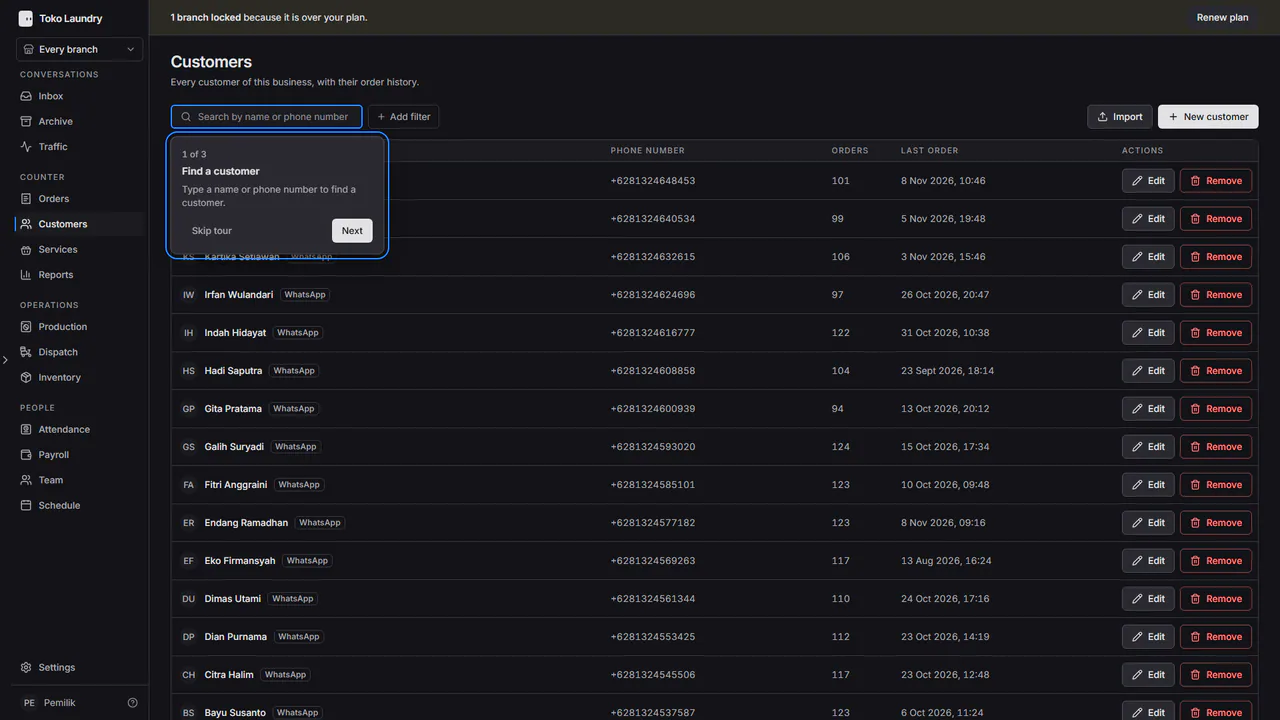
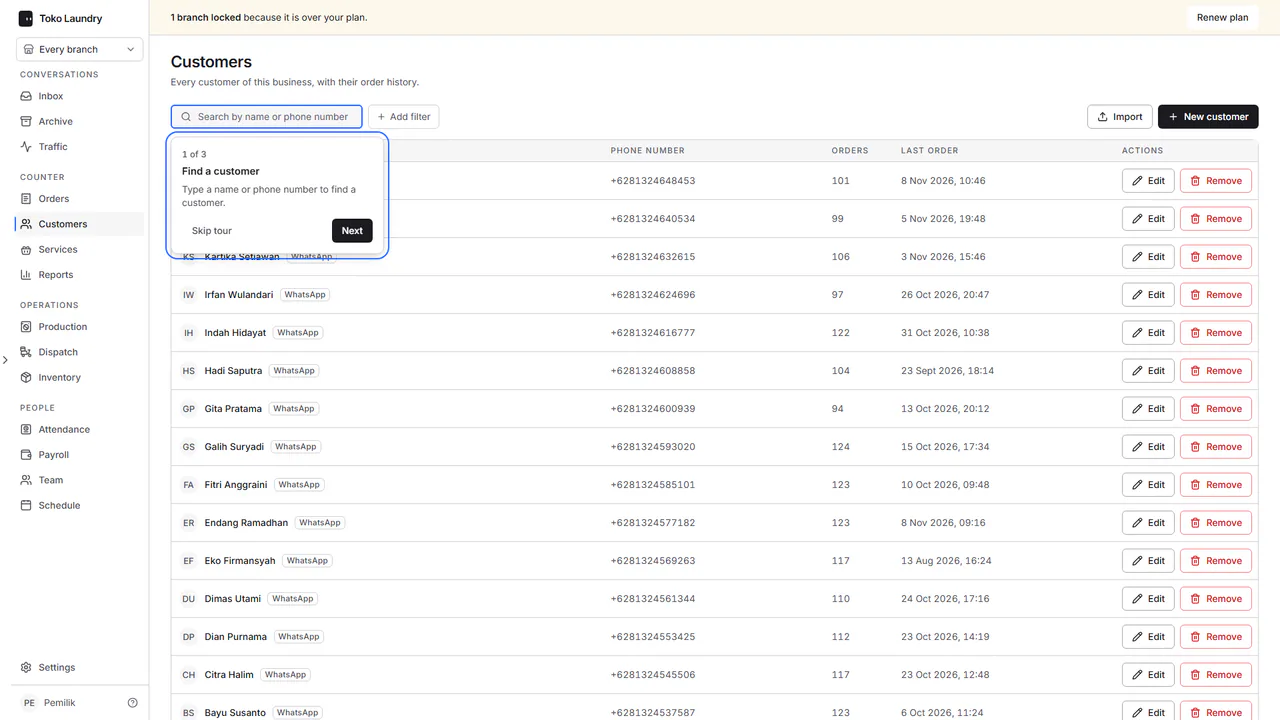
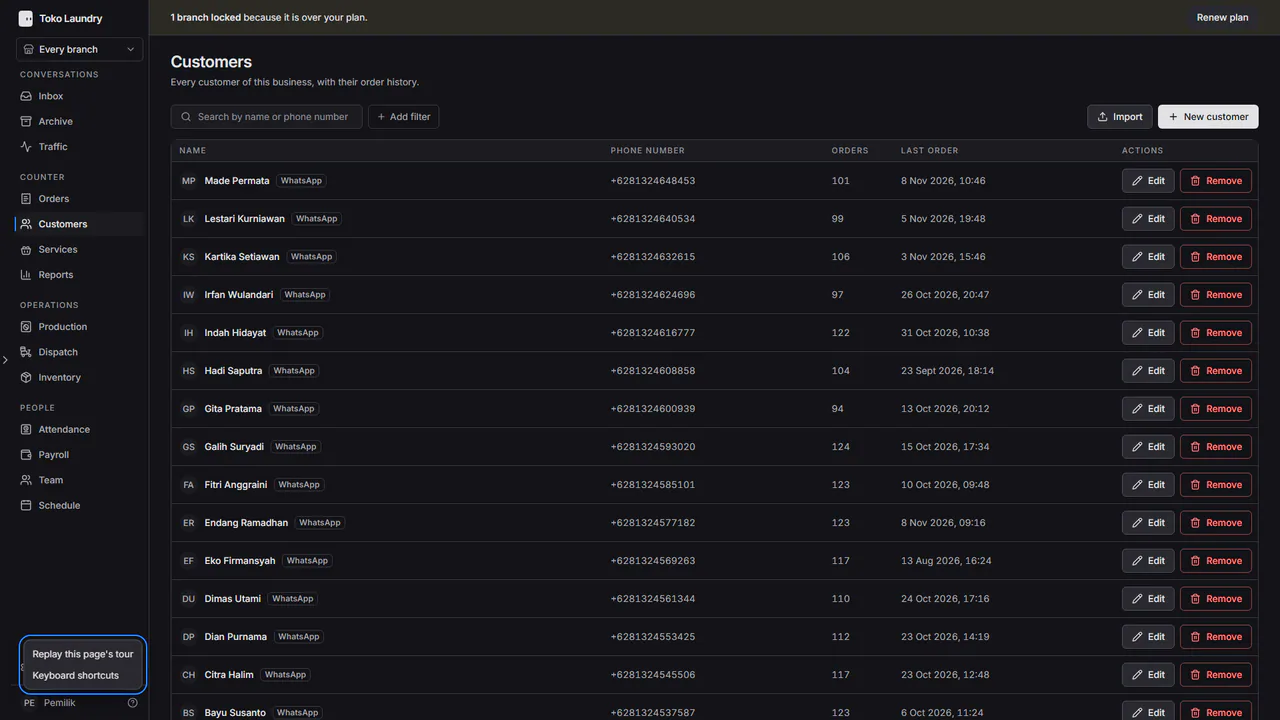
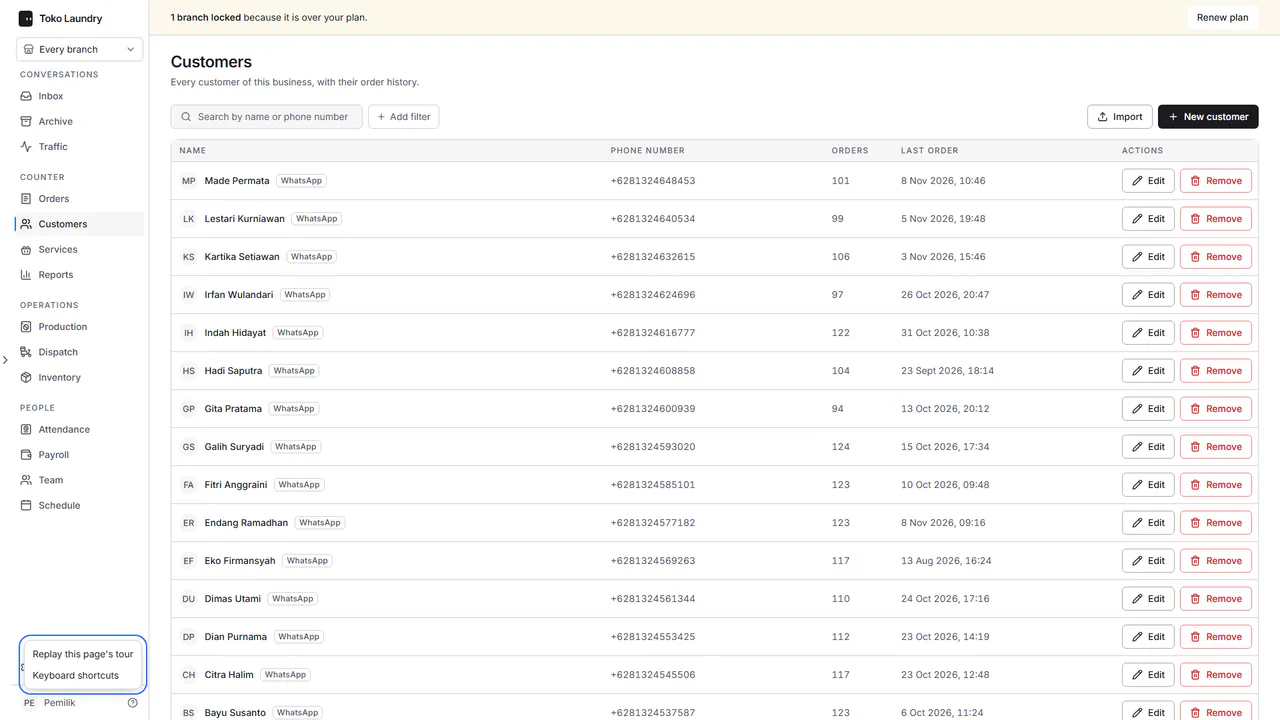
A tour you finish or skip is saved to your account, so it does not come back on another device or in another business. To play one again, press the Help button (the question mark) beside your name at the foot of the sidebar and choose Replay this page's tour. On a page with no tour, that choice is greyed out.
Every role has its own guide: owner, admin, cashier, production and courier.