Branches and team
Add branches, invite members and limit each member to their branches.
A branch keeps its own address, opening hours, WhatsApp number and receipt numbers, and every team member is placed in a branch. The number of branches is capped by the paying owner's plan.
For owners and admins.
Steps to add a branch
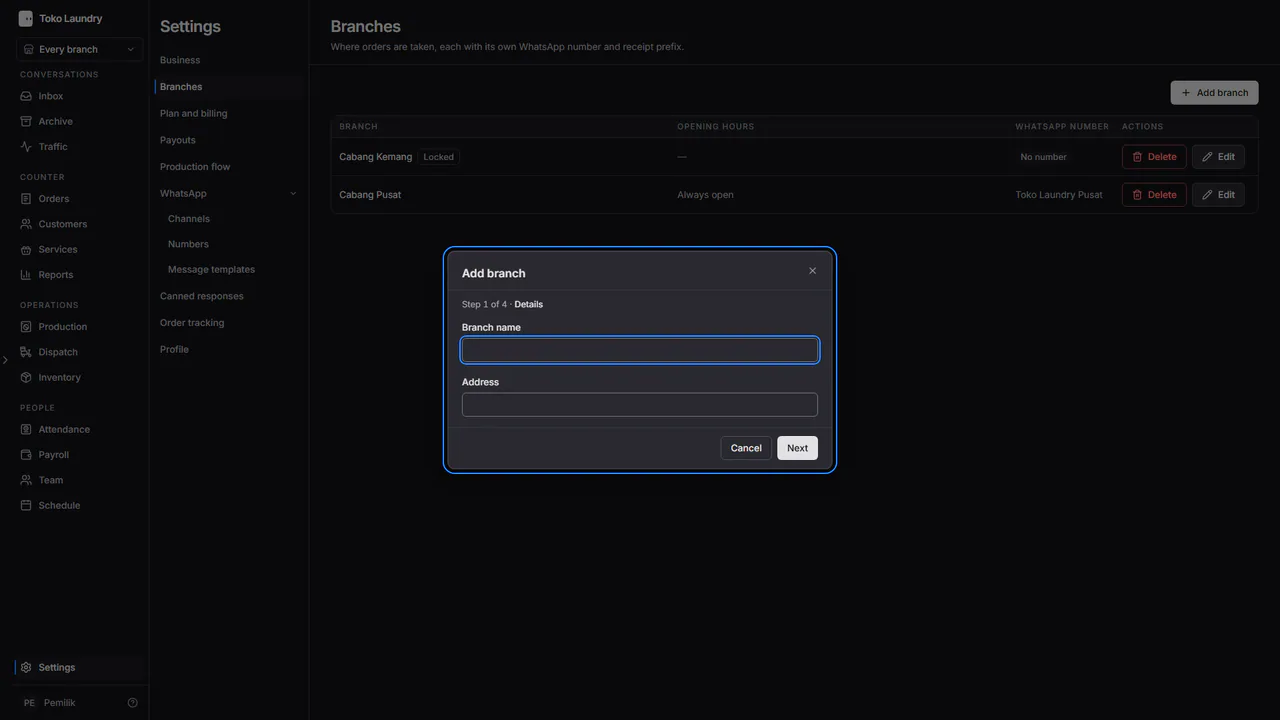
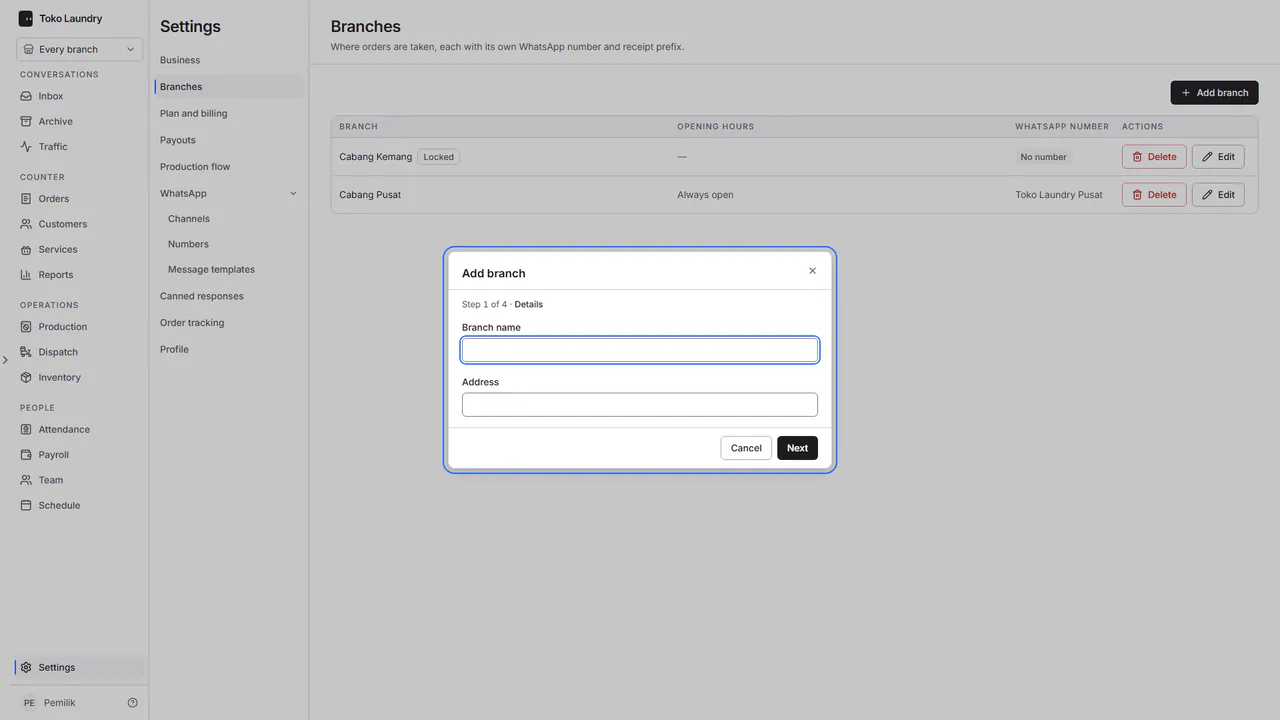
Open Settings > Branches and press Add branch. Fill in Branch name and Address, then press Next.
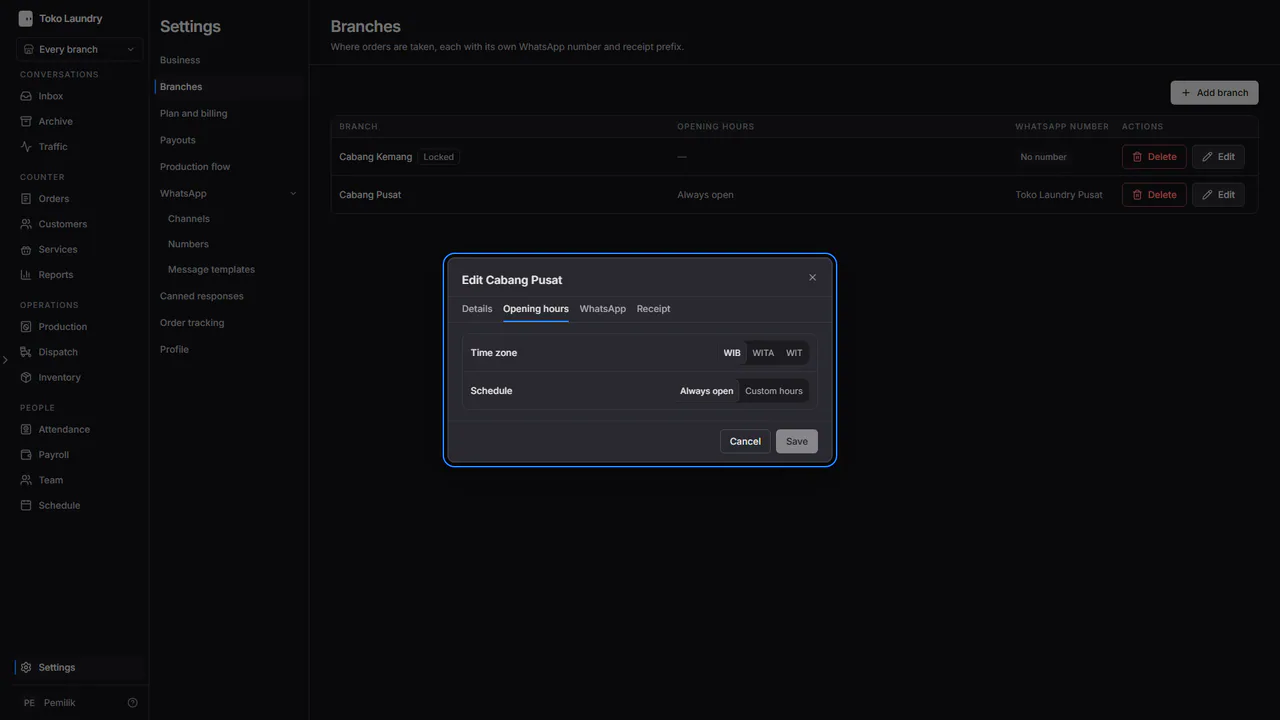
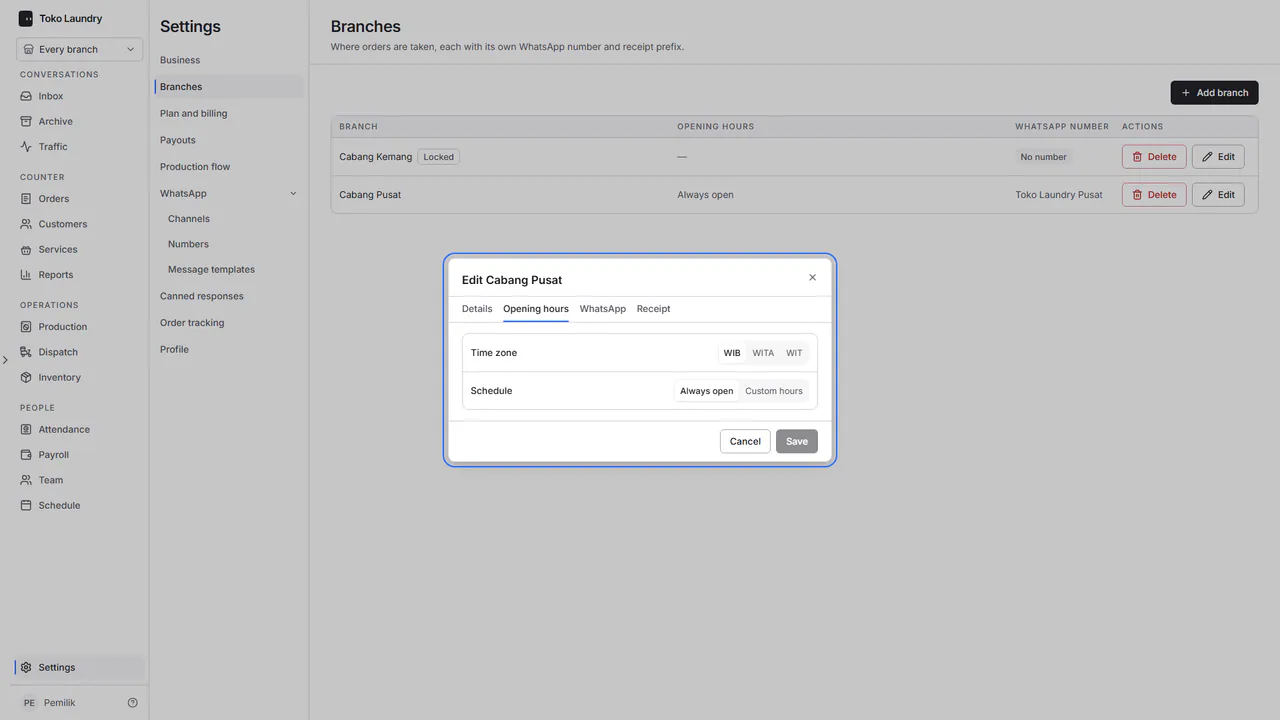
In Opening hours, pick the Time zone (WIB, WITA or WIT), then Always open or Custom hours. Receipt numbers take their date from this time zone.
In WhatsApp, pick the Sender number, and turn on Limit messages per day if needed.
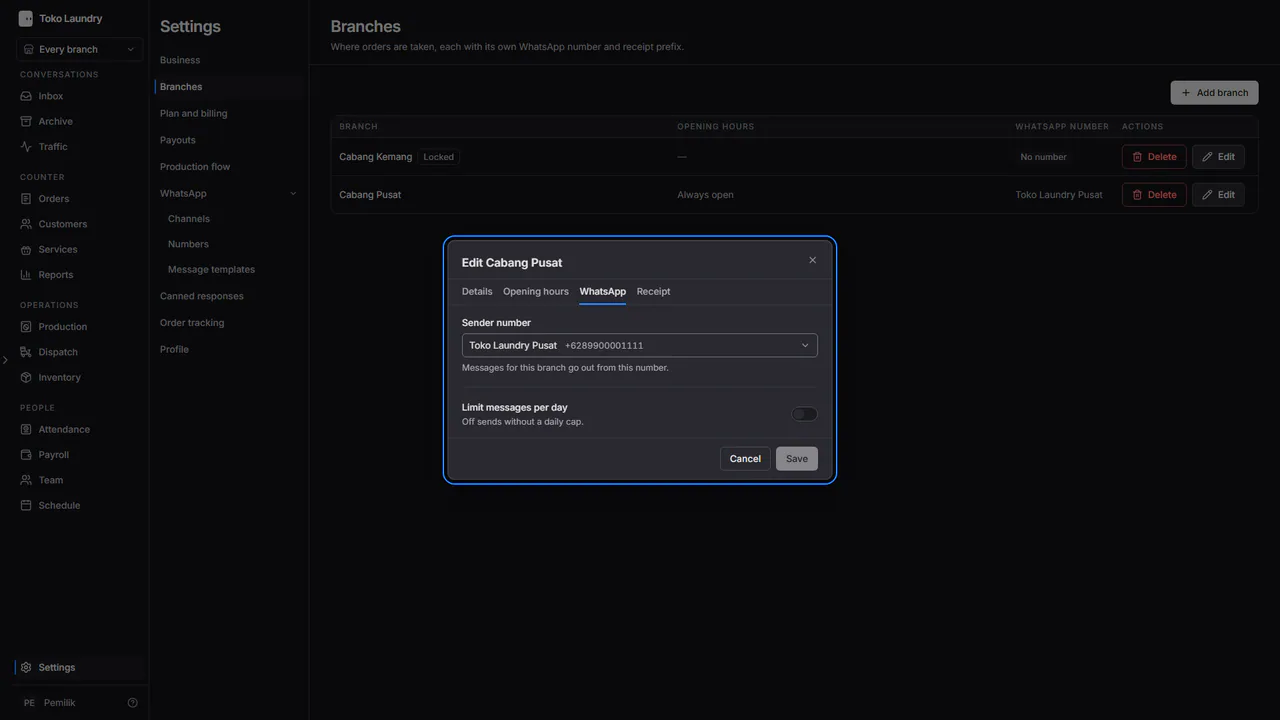
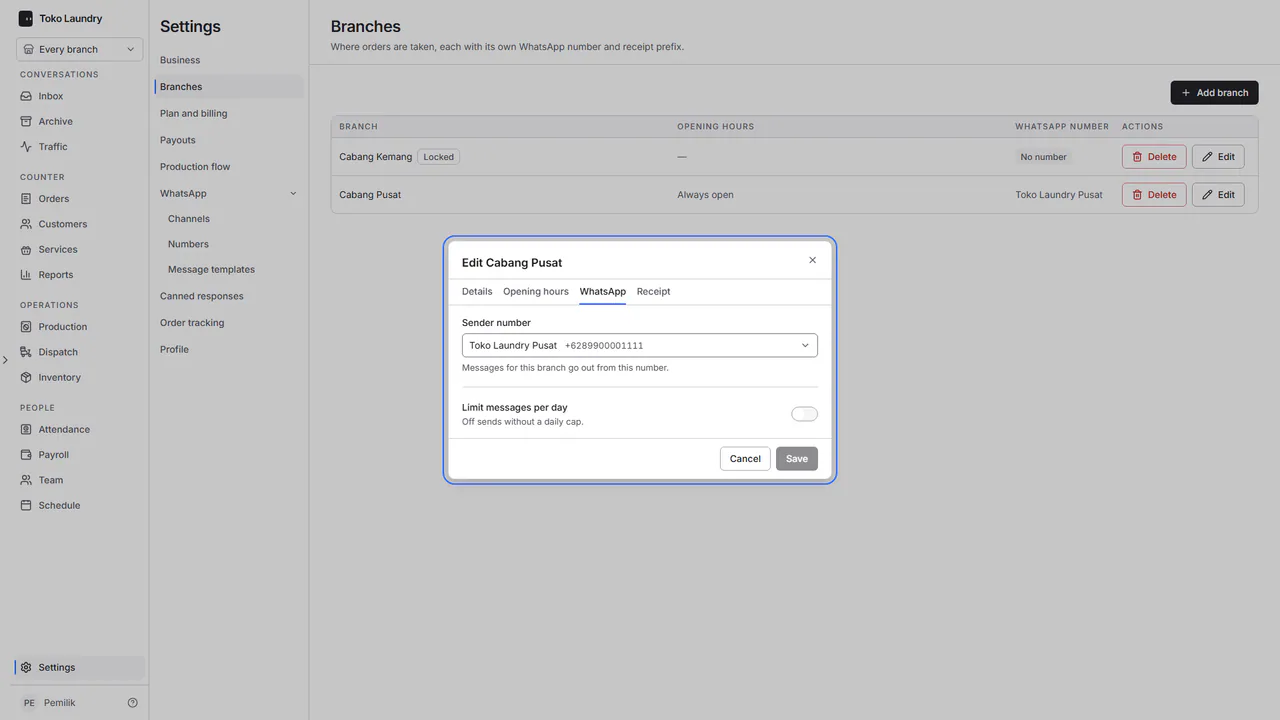
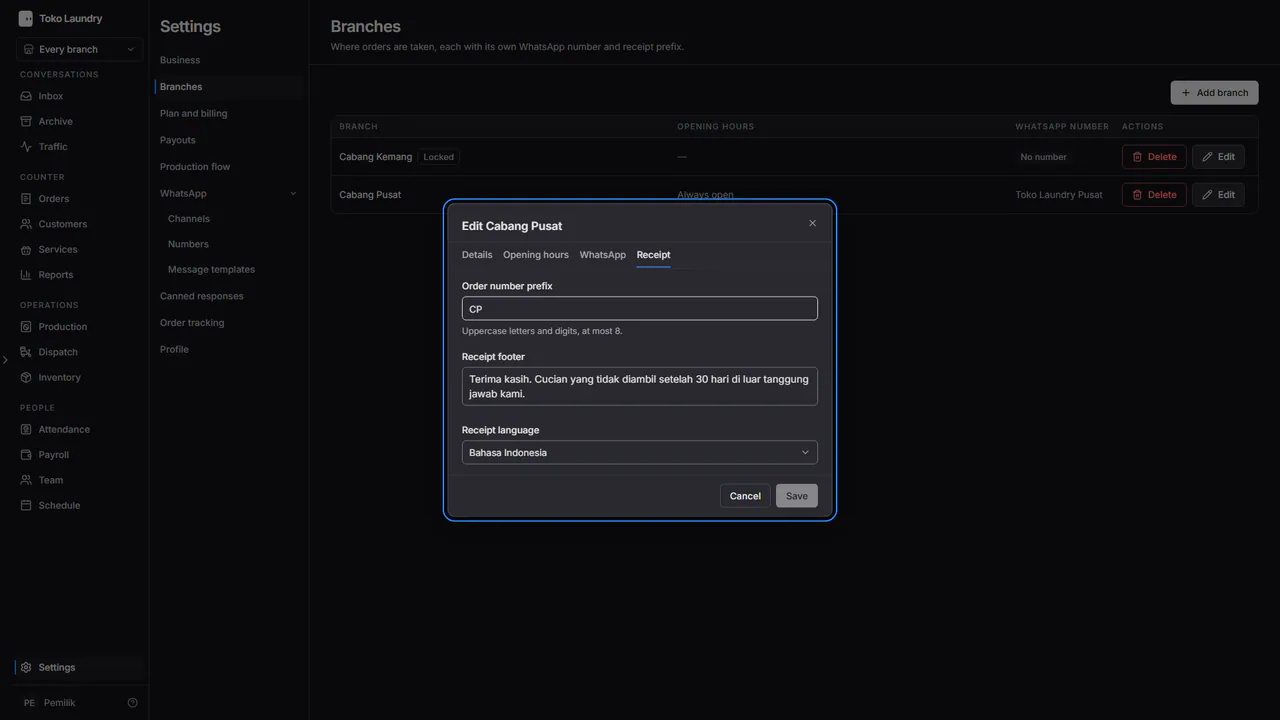
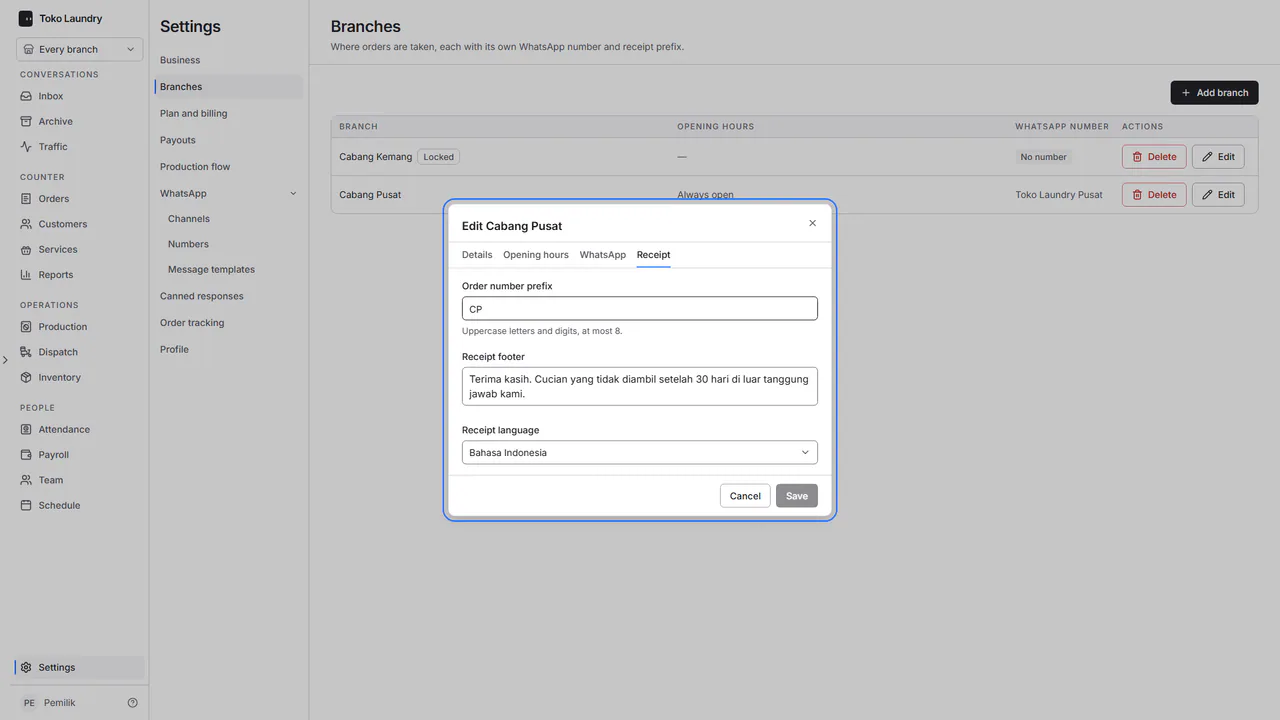
In Receipt, fill in the Order number prefix (capital letters and digits, at most 8), Receipt footer and Receipt language, then save.
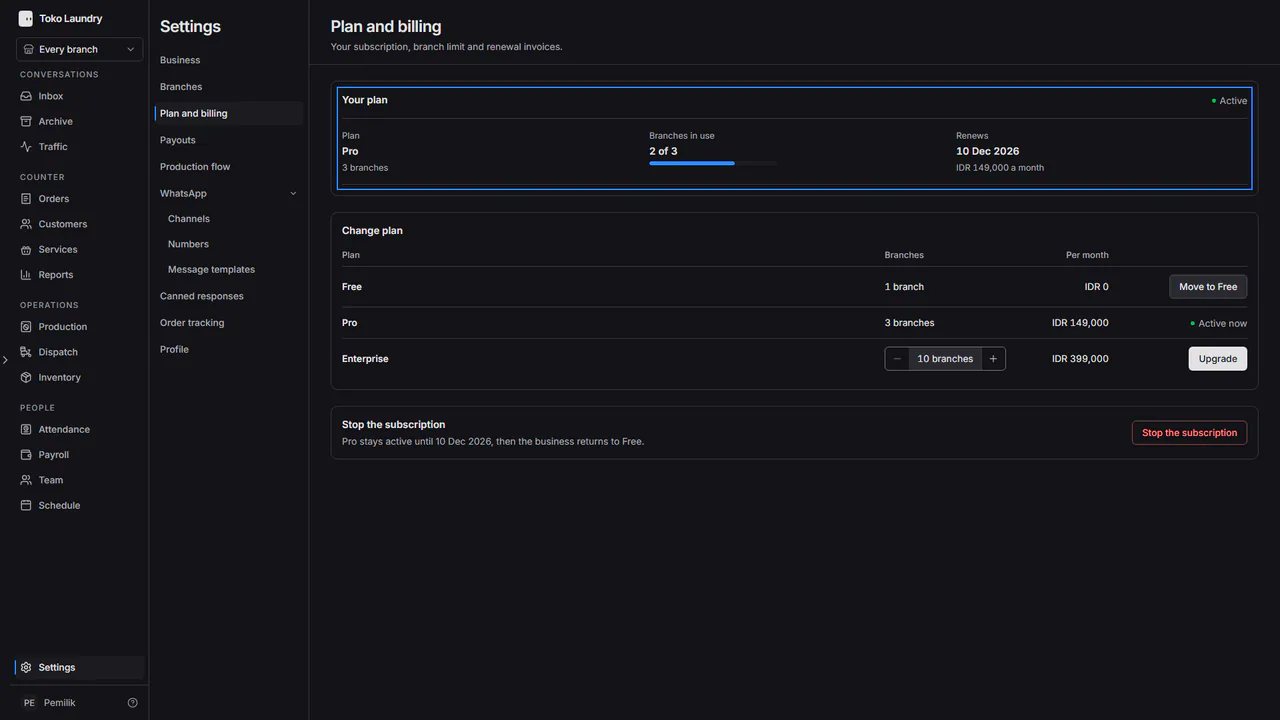
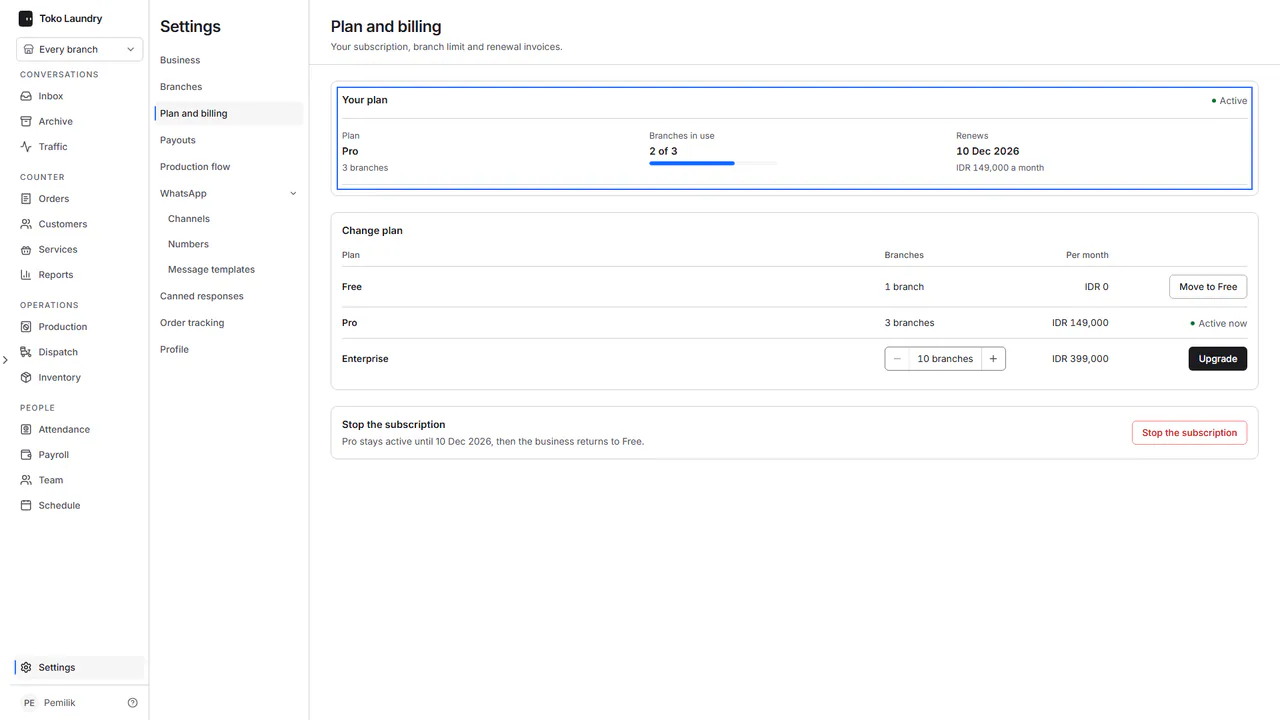
When the plan already holds all its branches, the save is refused with Your plan is full. Upgrade the plan to add a branch. The paying owner presses Upgrade plan in that message, which opens Settings > Plan and billing. An admin is asked to contact the owner who pays for the plan.
To change a branch, press Edit on its row. The dialog holds the same four tabs.
Steps to add a member
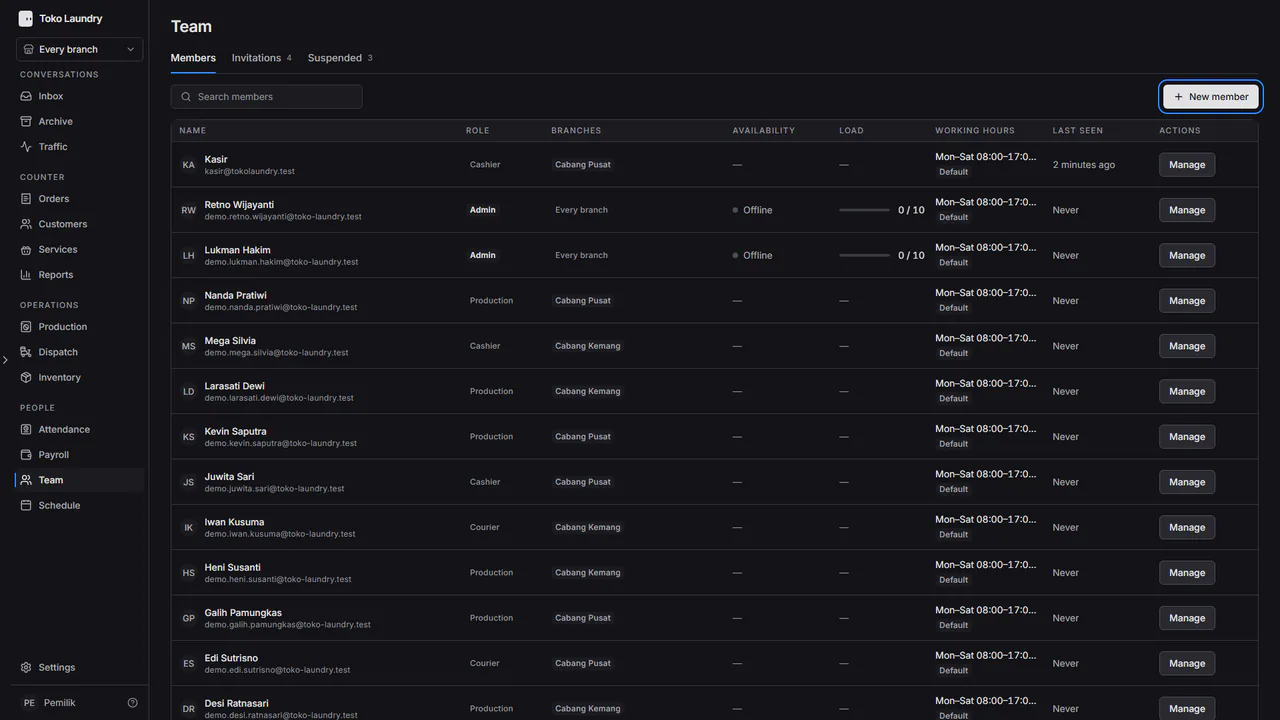
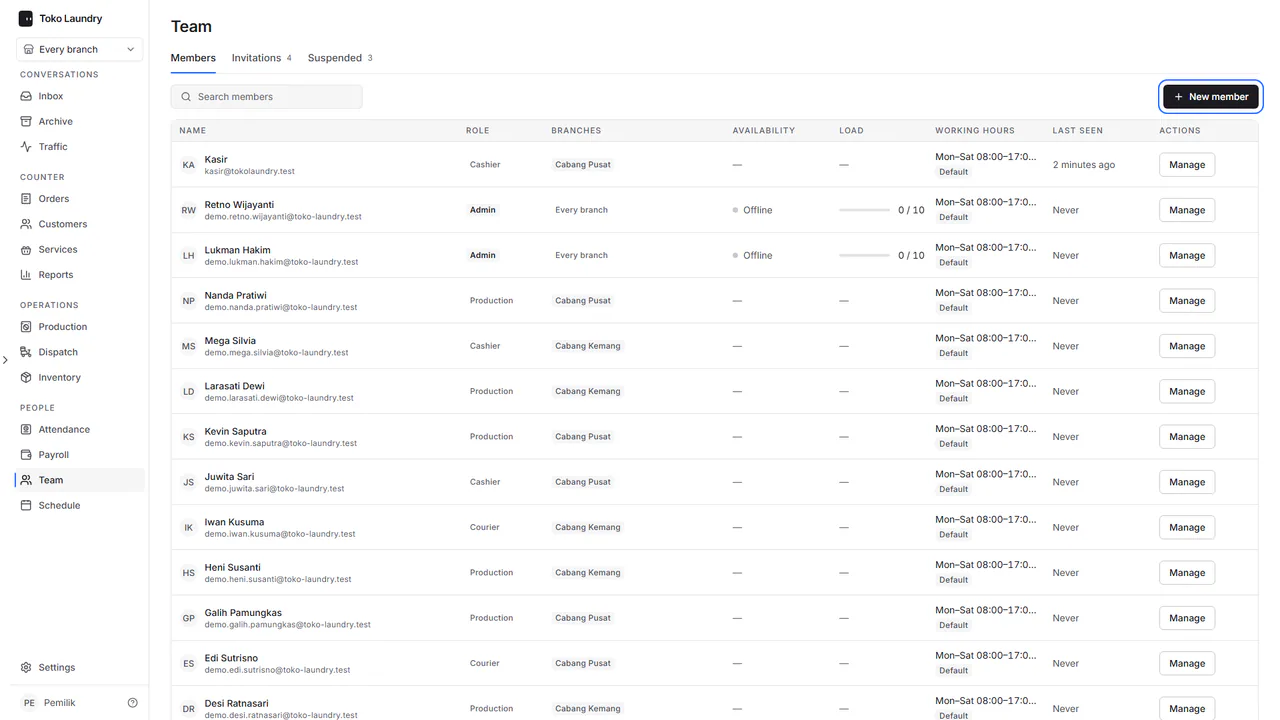
Open Team and press New member.
On the Create account tab, fill in the name, email and a password of at least 8 characters. The member can sign in with that password at once.
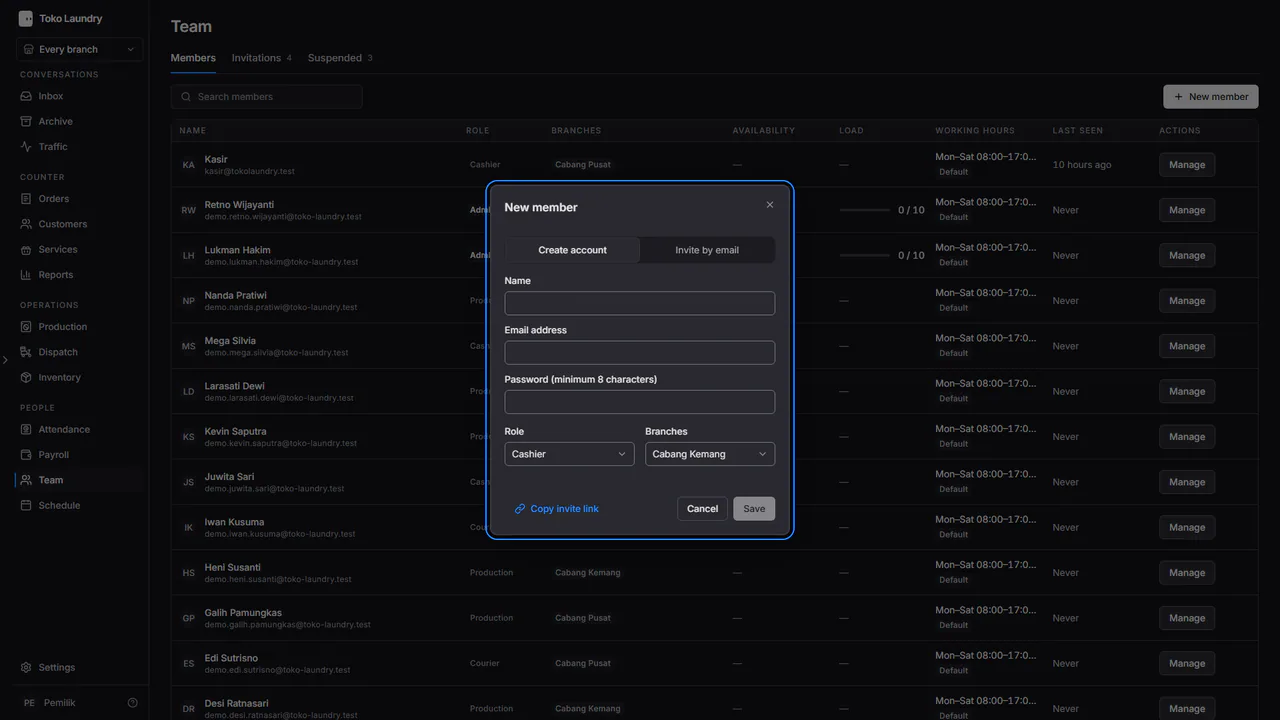
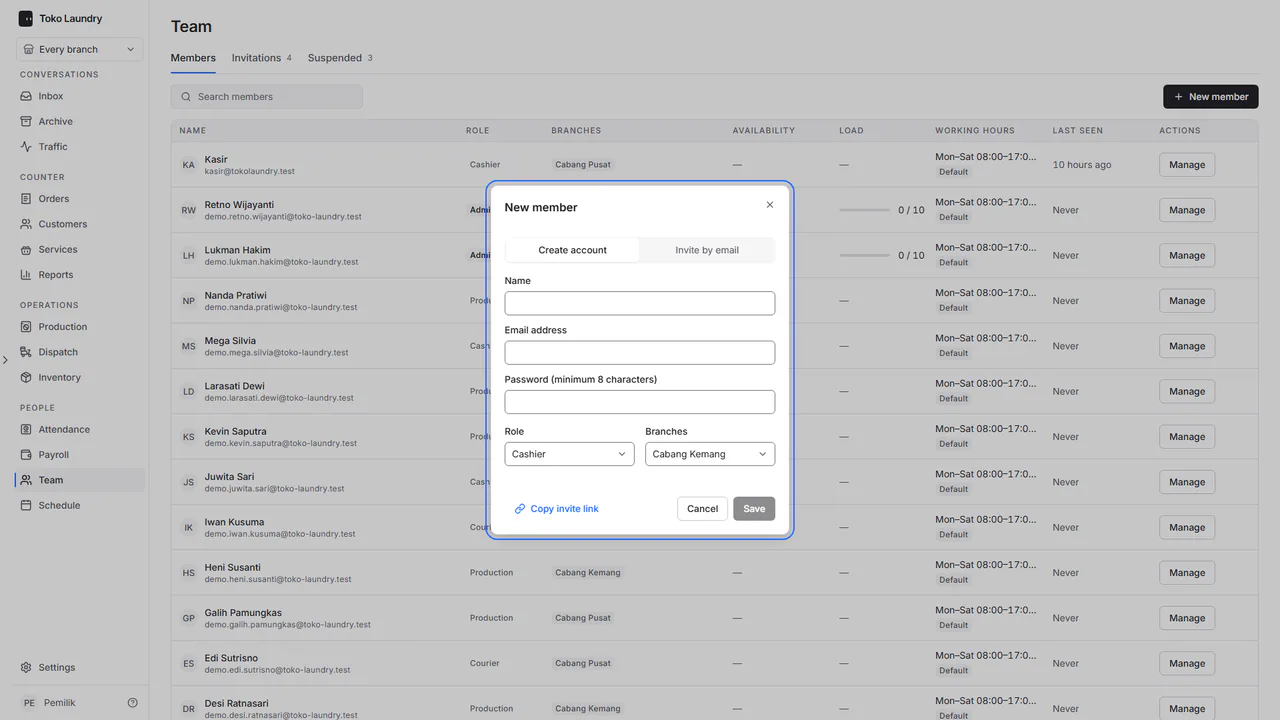
Or pick Invite by email and type up to 20 addresses at once, separated by commas or Enter. Copy invite link gives one link you can send yourself.
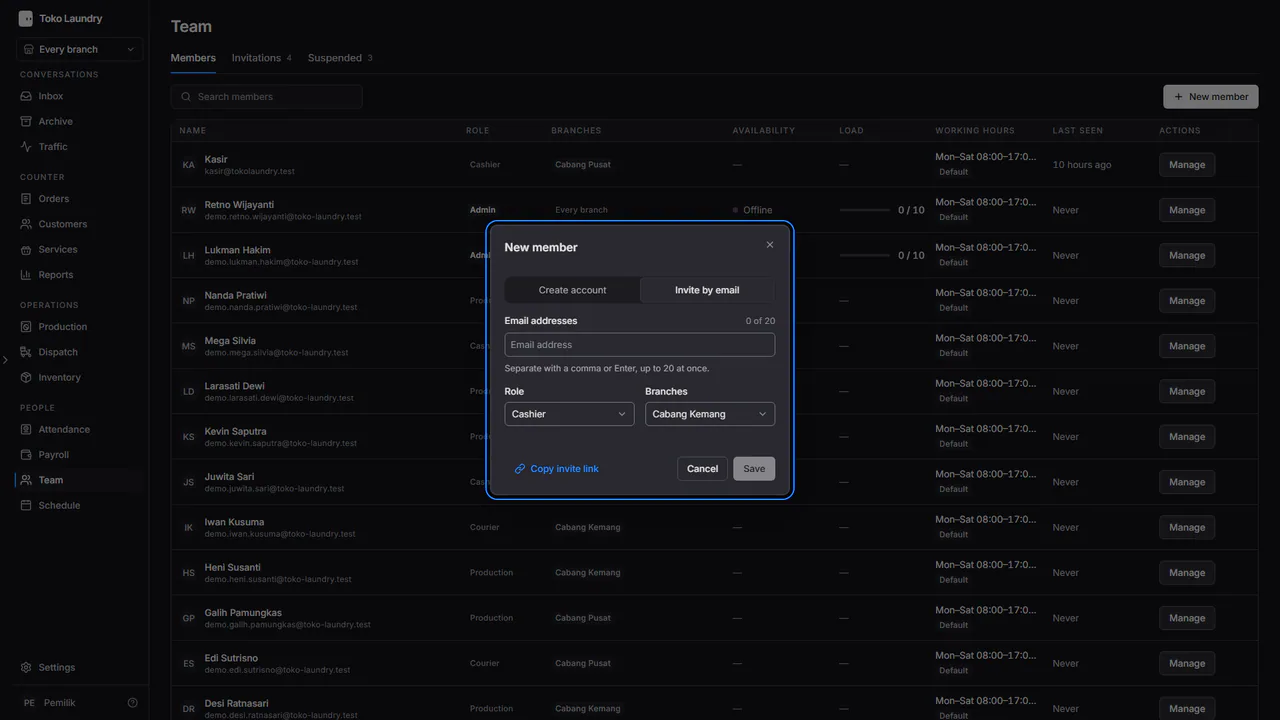
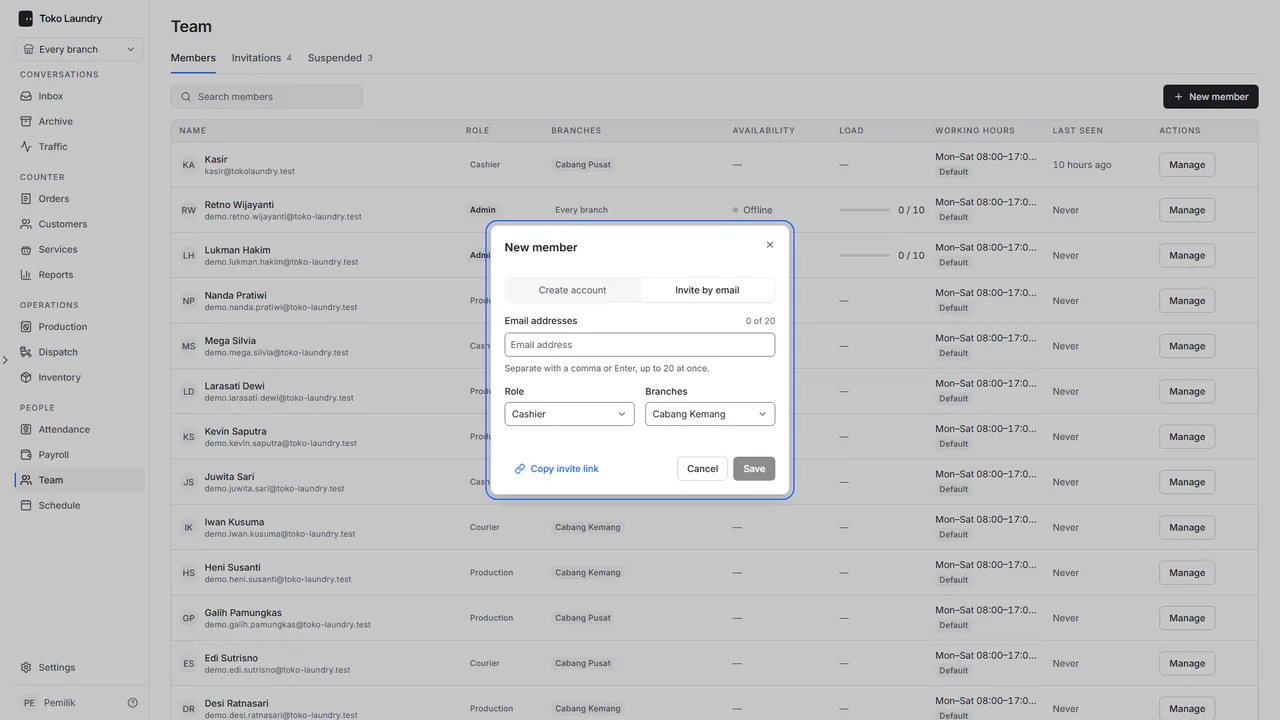
Pick the Role and Branch, then press Save. A member opens only their branches; other branches are refused, not merely hidden.
The invited person opens the link in their email, fills in a name and password, then presses Accept invitation. If that email already has an account, they only enter that account's password. The steps are in account.
Steps to manage invitations
Open the Invitations tab. Each row holds the email address, role, branch and expiry date. An accepted invitation leaves this list and moves to Members.
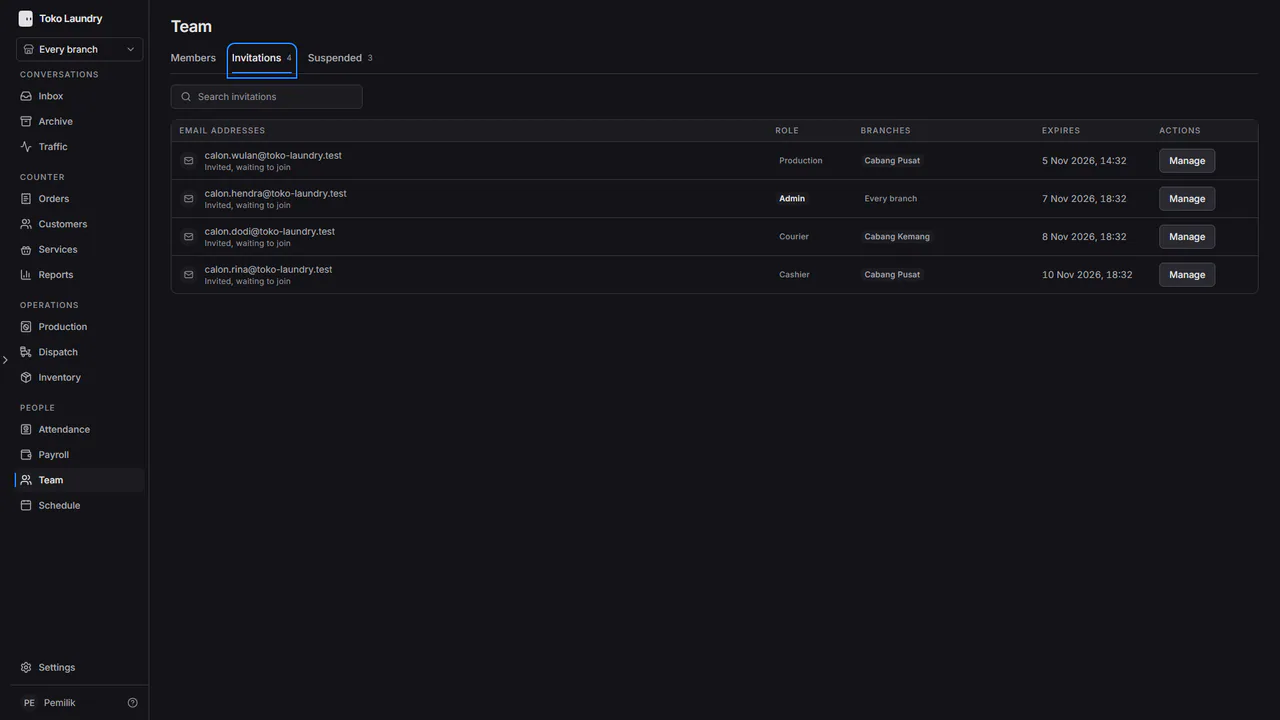
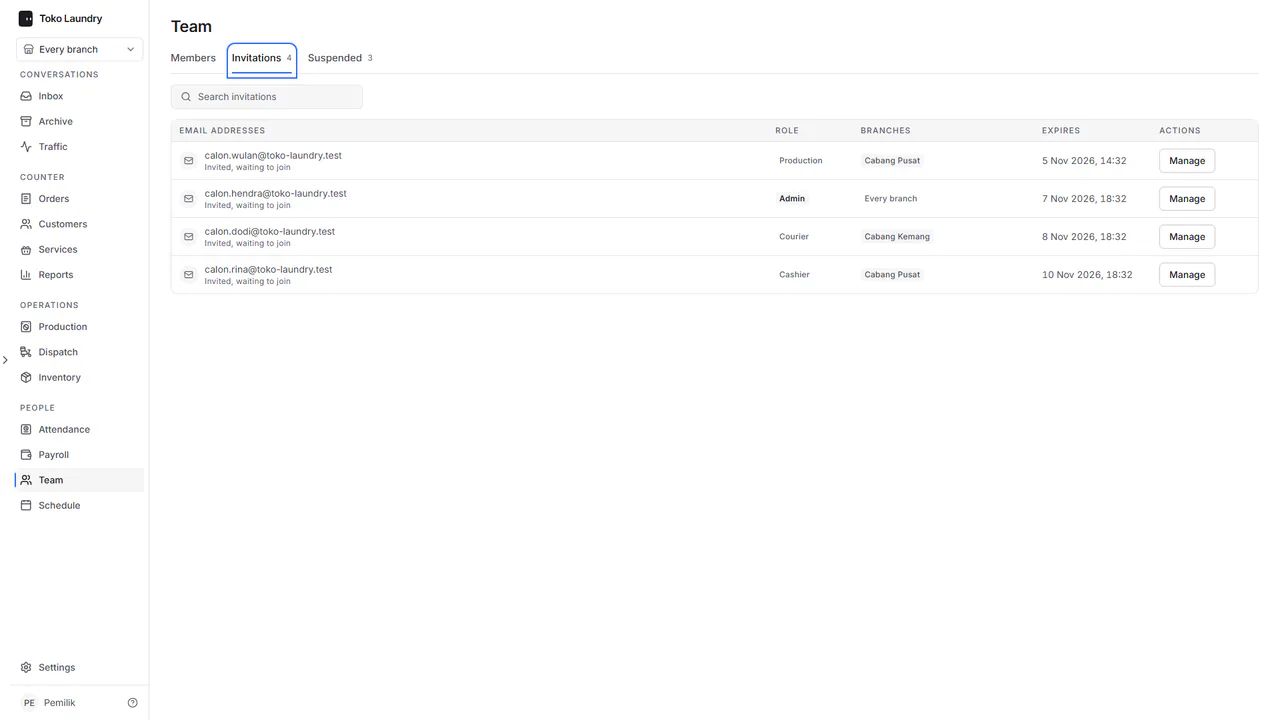
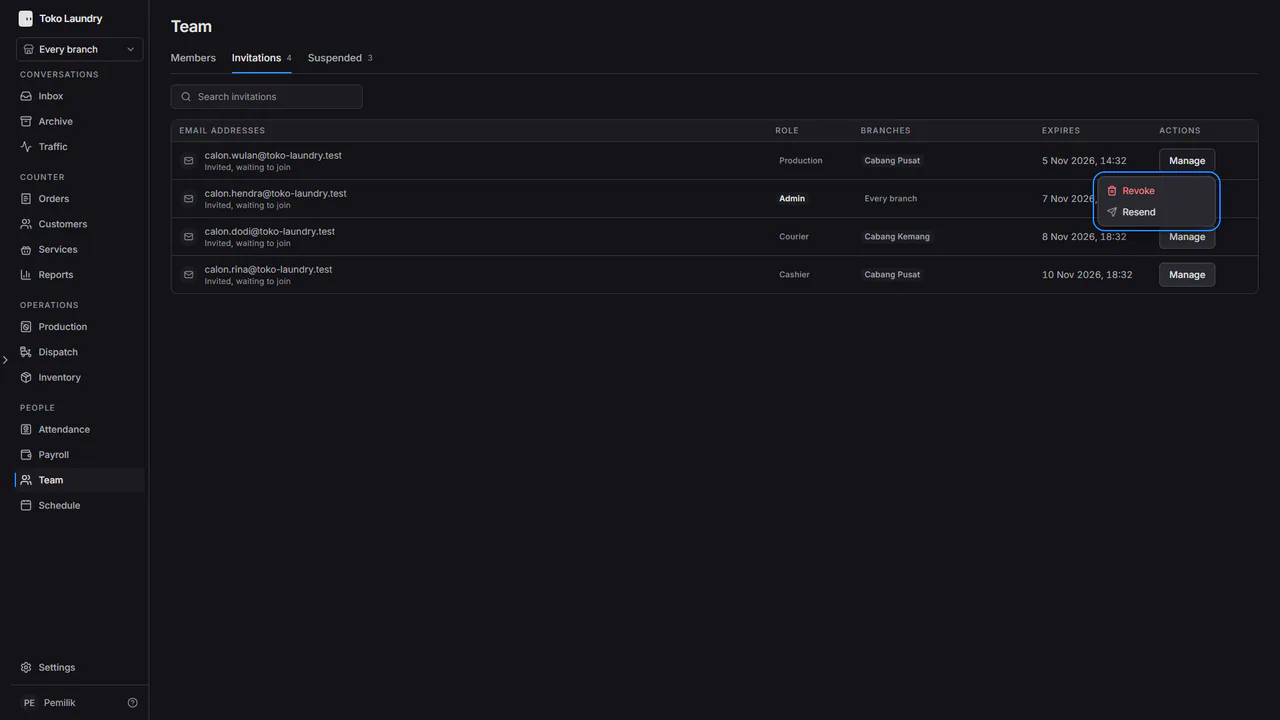
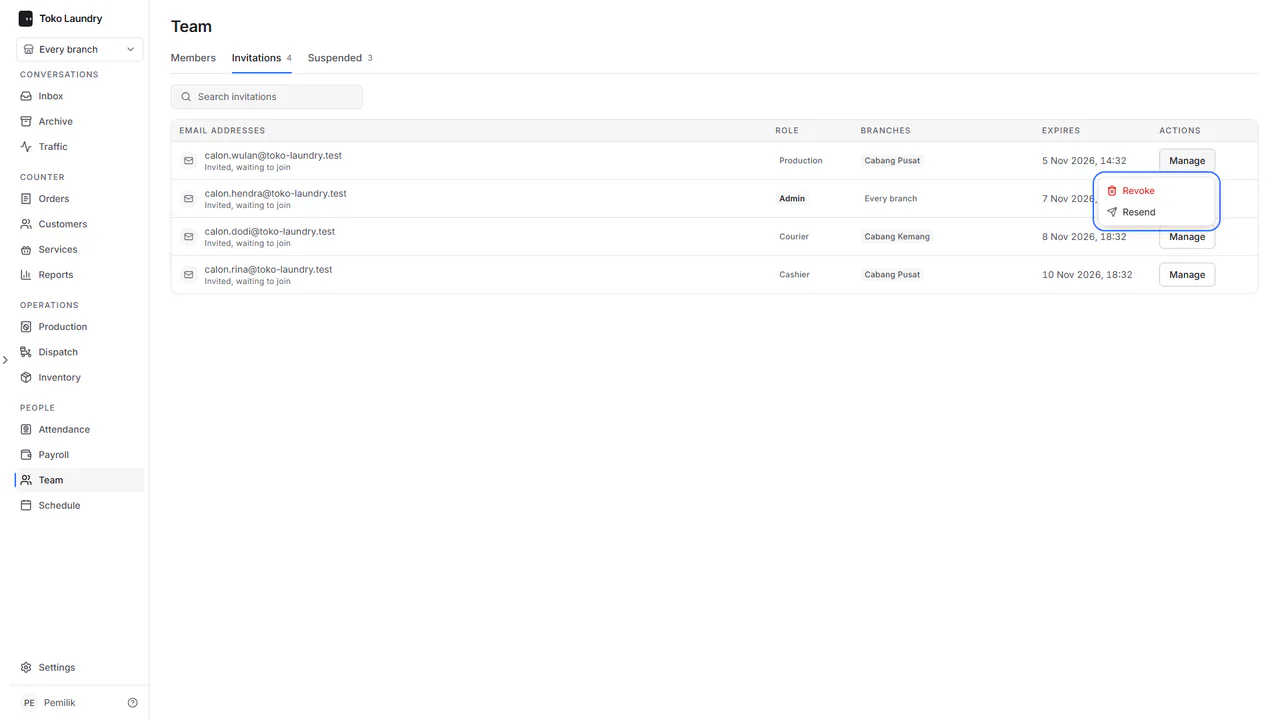
Press Manage on an invitation's row. Resend sends the email again, and Revoke cancels it so the link no longer works. A link invitation also has Copy link.
Steps to change a member
Press Manage on the member's row. Pick Role, Branch or Working hours to change them.
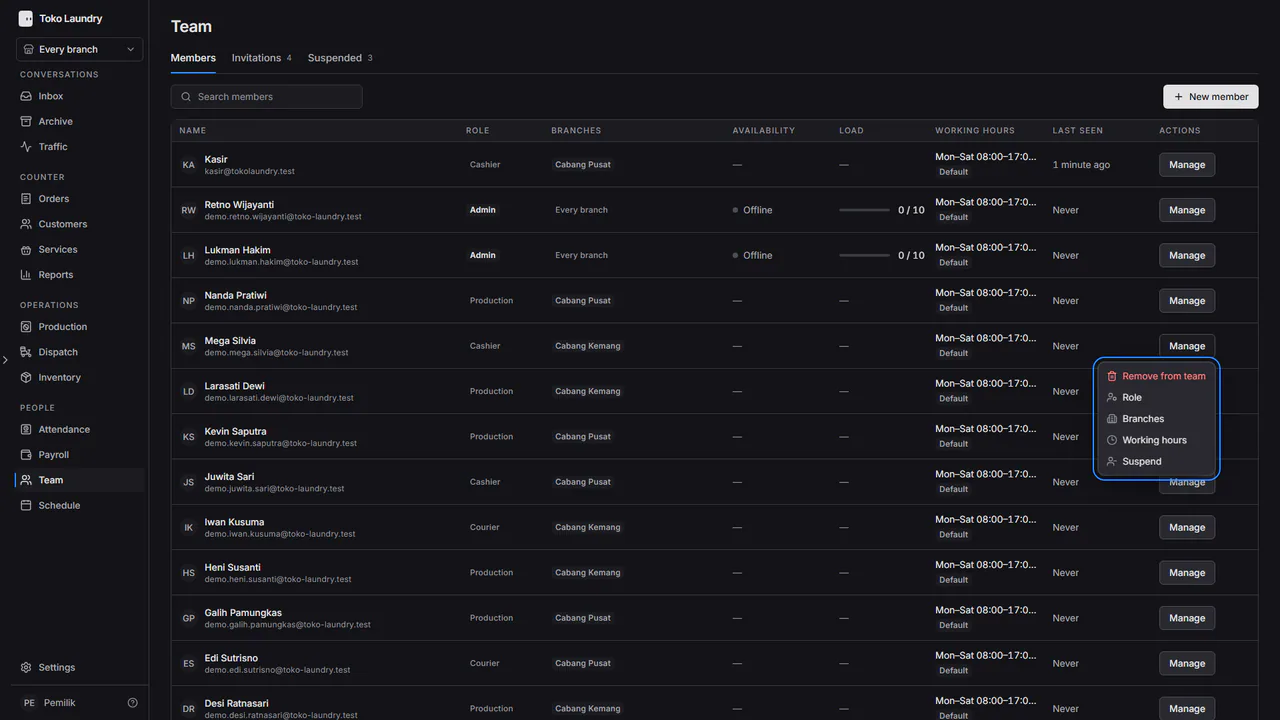
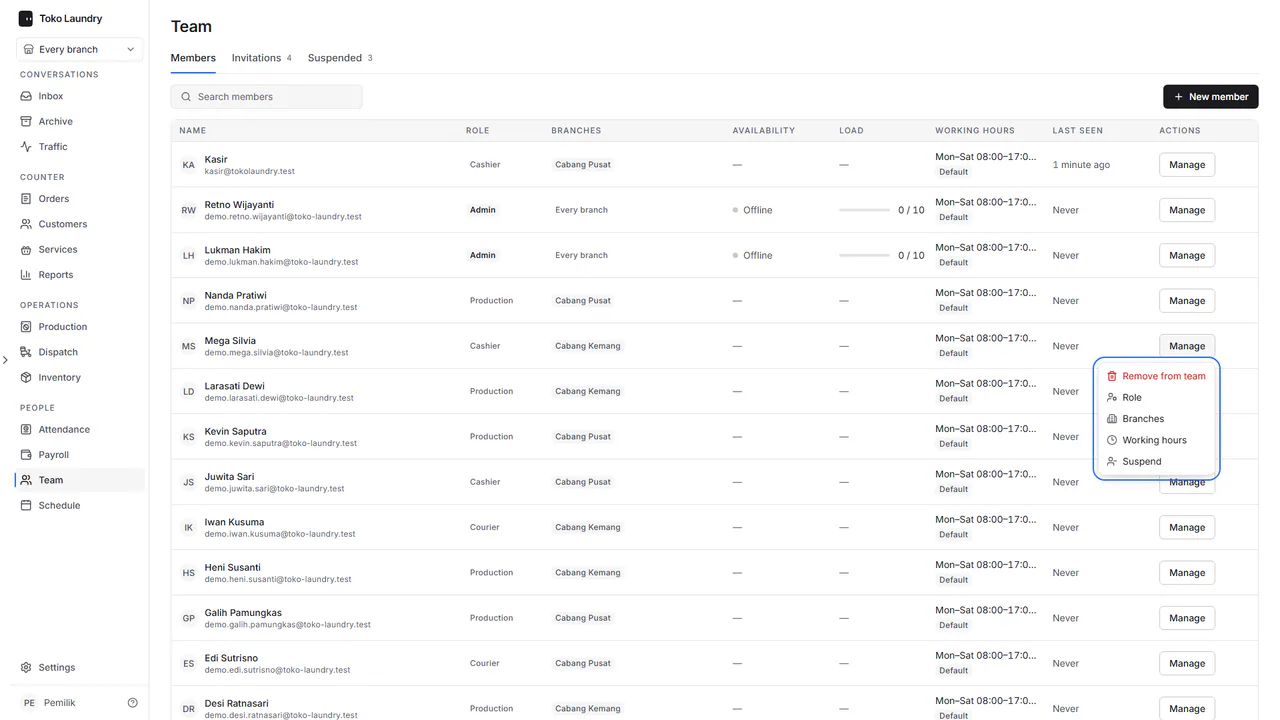
Suspend stops access without removing the member. Their session ends at once, and they move to the Suspended tab. Remove from team takes them out of the team; their order history stays.
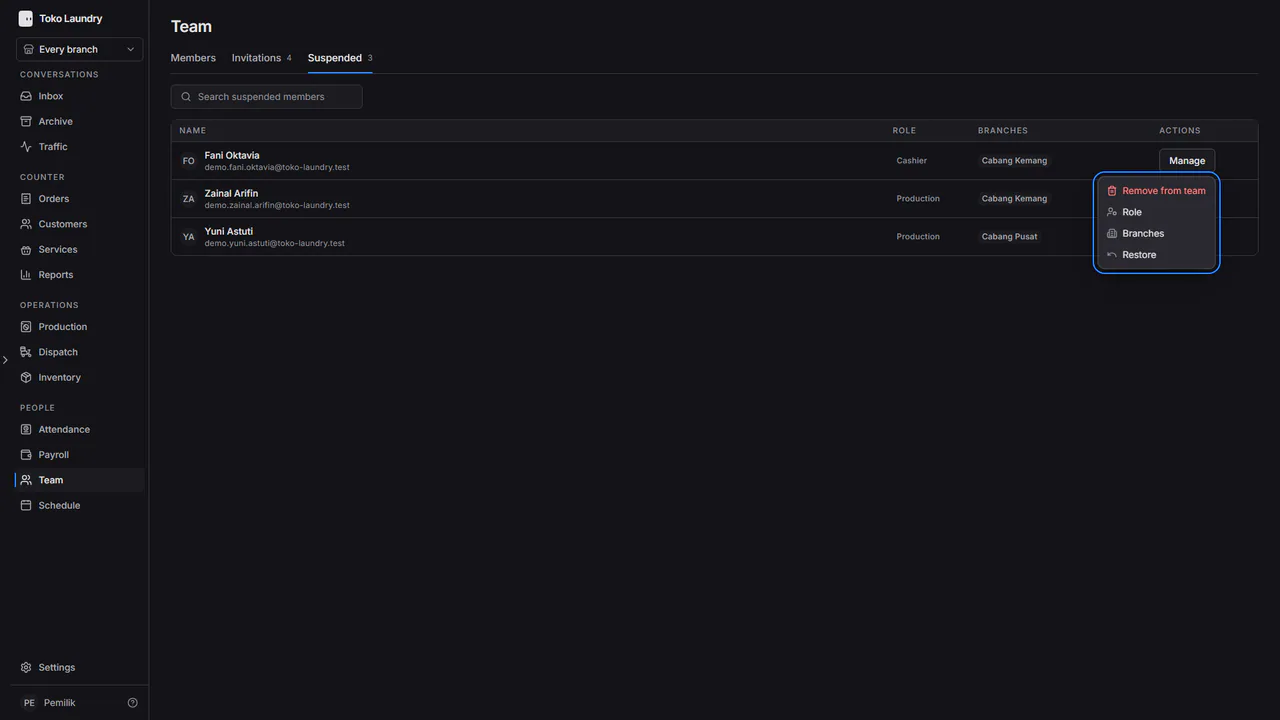
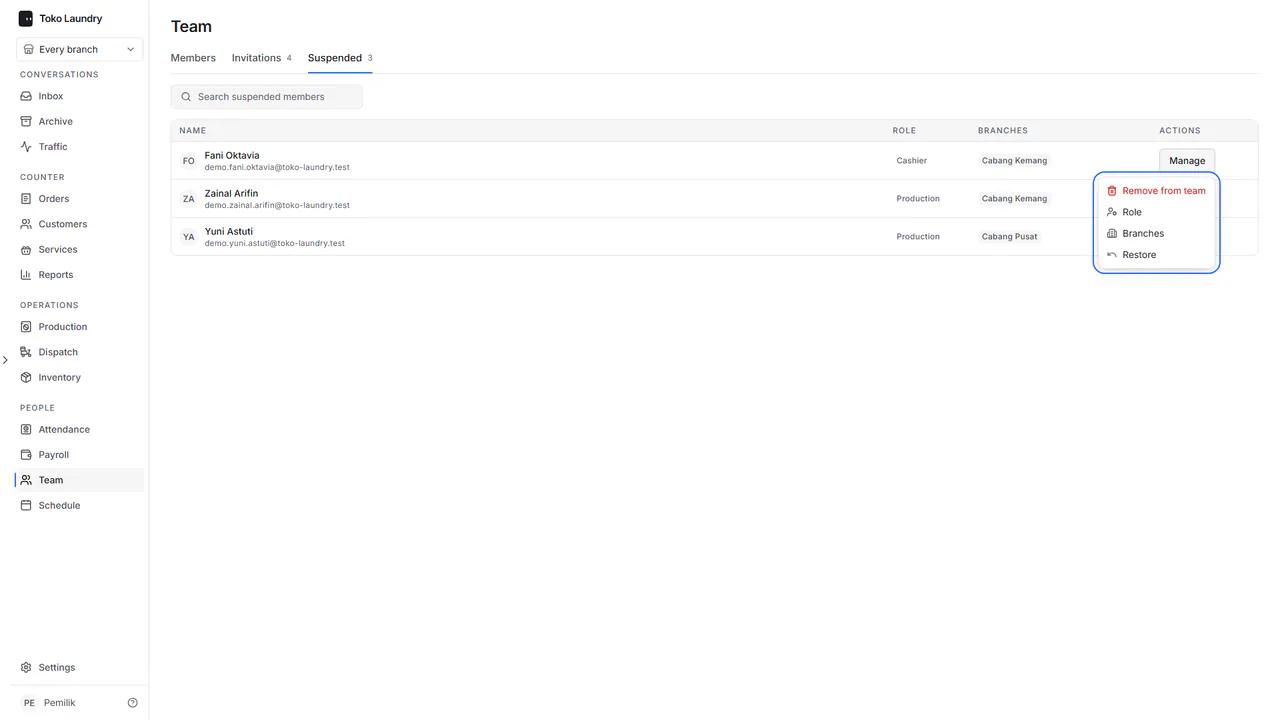
To bring them back, open the Suspended tab, press Manage on their row, then pick Restore. The member returns to the Members tab with the same role and branches.
Every business always keeps one active owner. An admin cannot change, suspend or remove an owner. Each role is explained in who can do what.