Multiple branches
Switch between businesses, pick the branch on screen and set prices per branch.
One business can run several branches, each with its own orders, prices, stock, WhatsApp number and team. One owner can hold up to five businesses.
For owners and admins.
Steps to switch businesses
Move the pointer to the left edge of the screen, or press the › there (Open the brand list). The brand rail opens. Each business shows as a square with its initials, and the open one is marked blue.
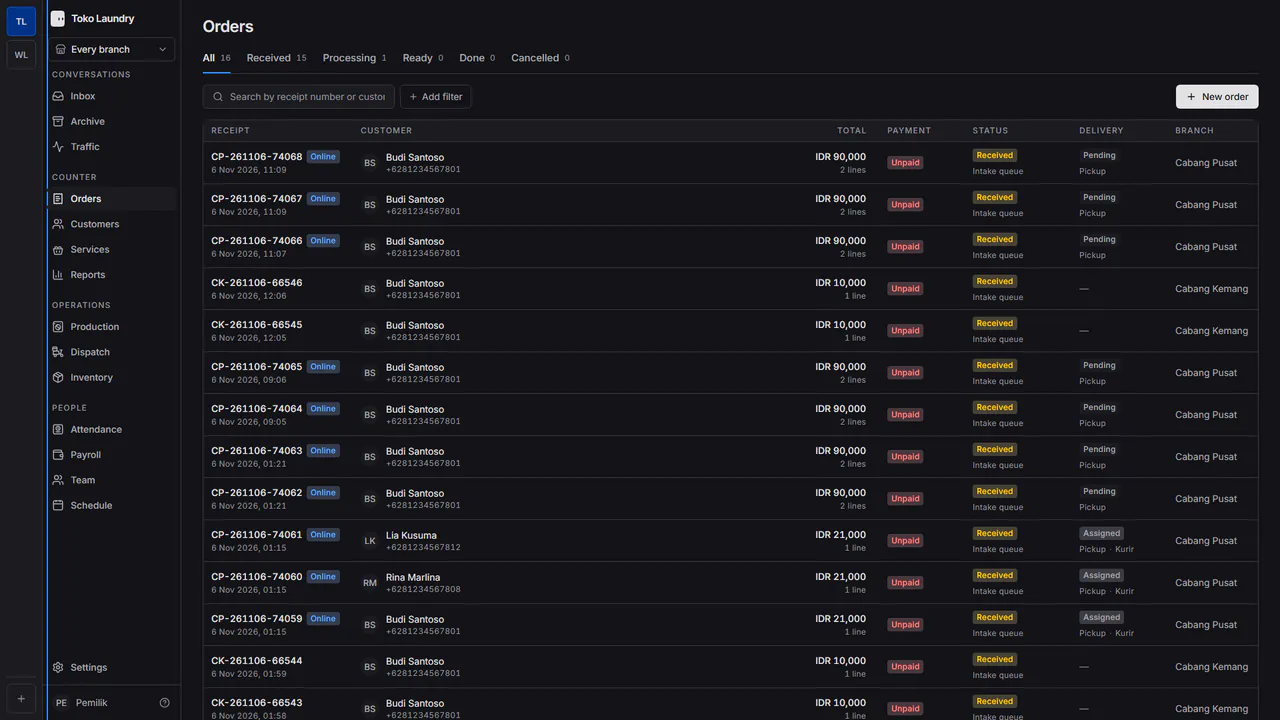
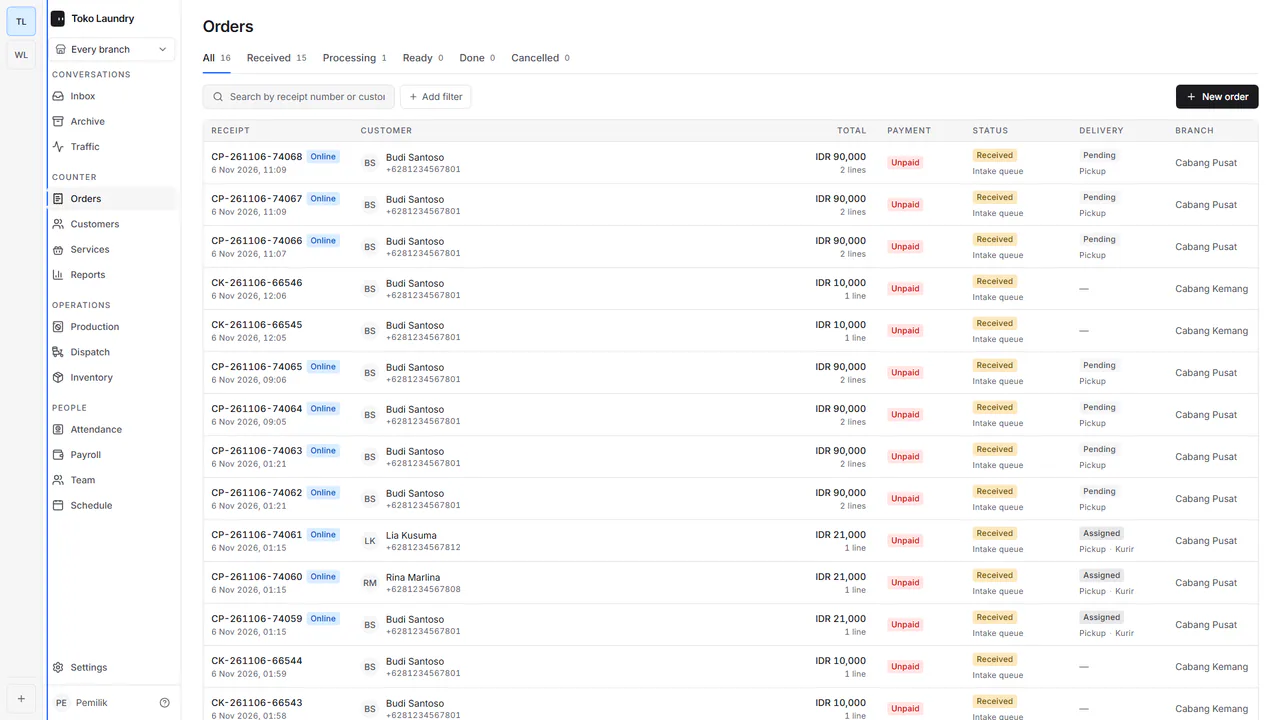
Press another business's square. The orders, services, team and branches on screen switch to that business.
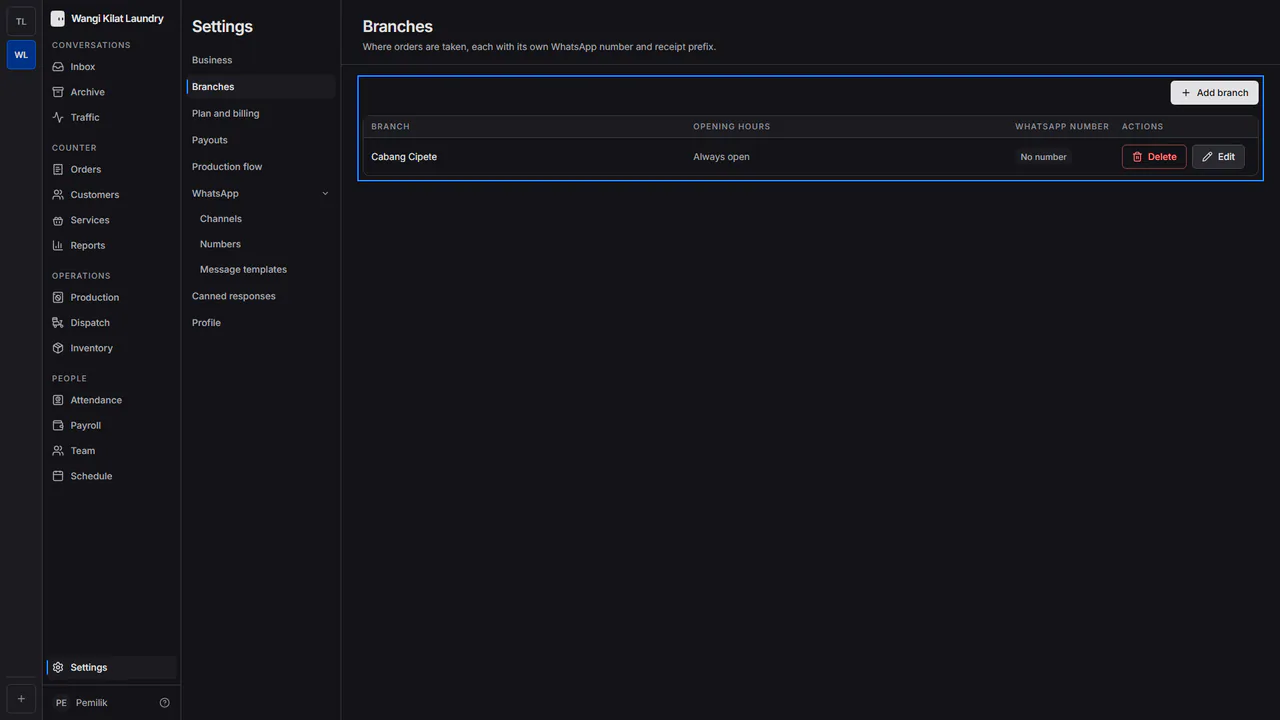
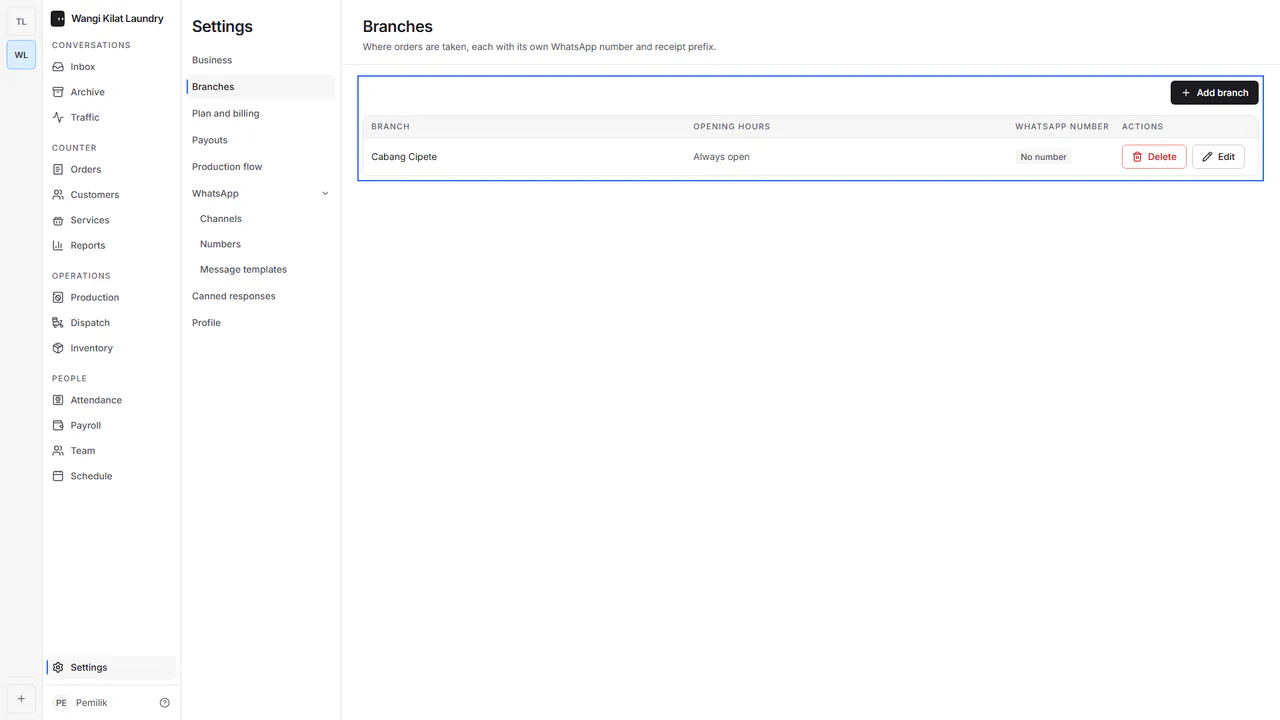
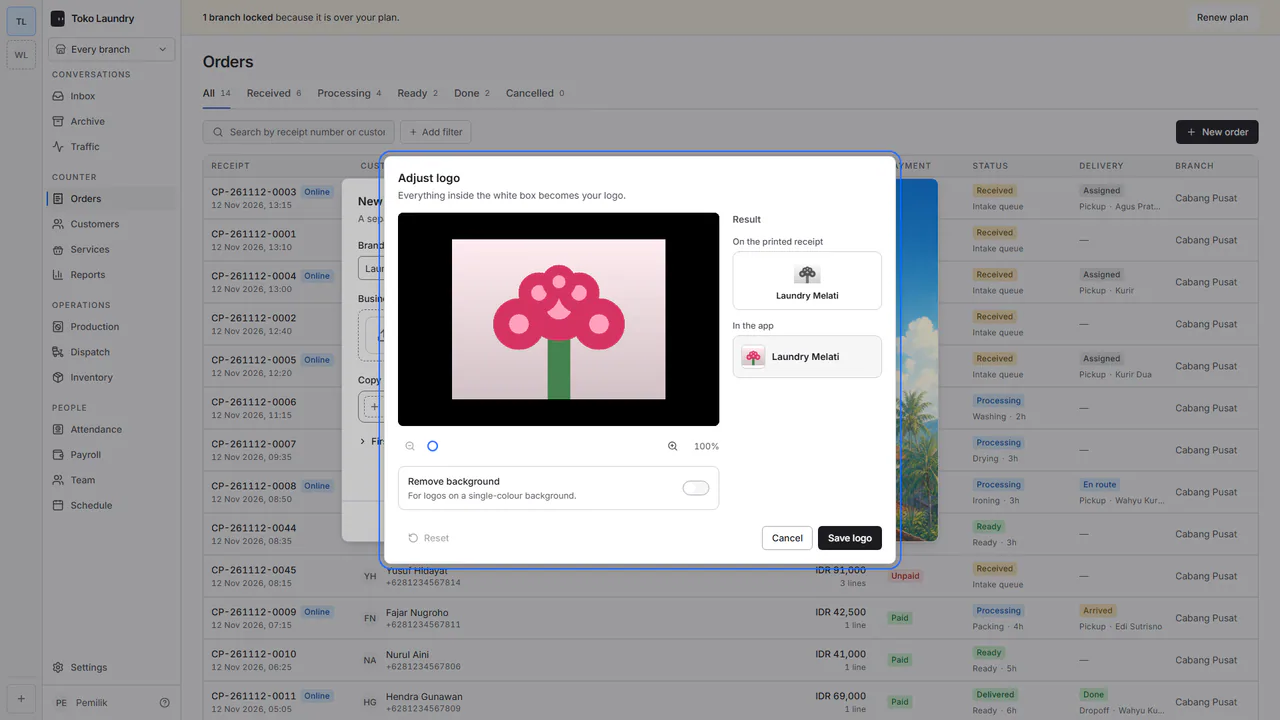
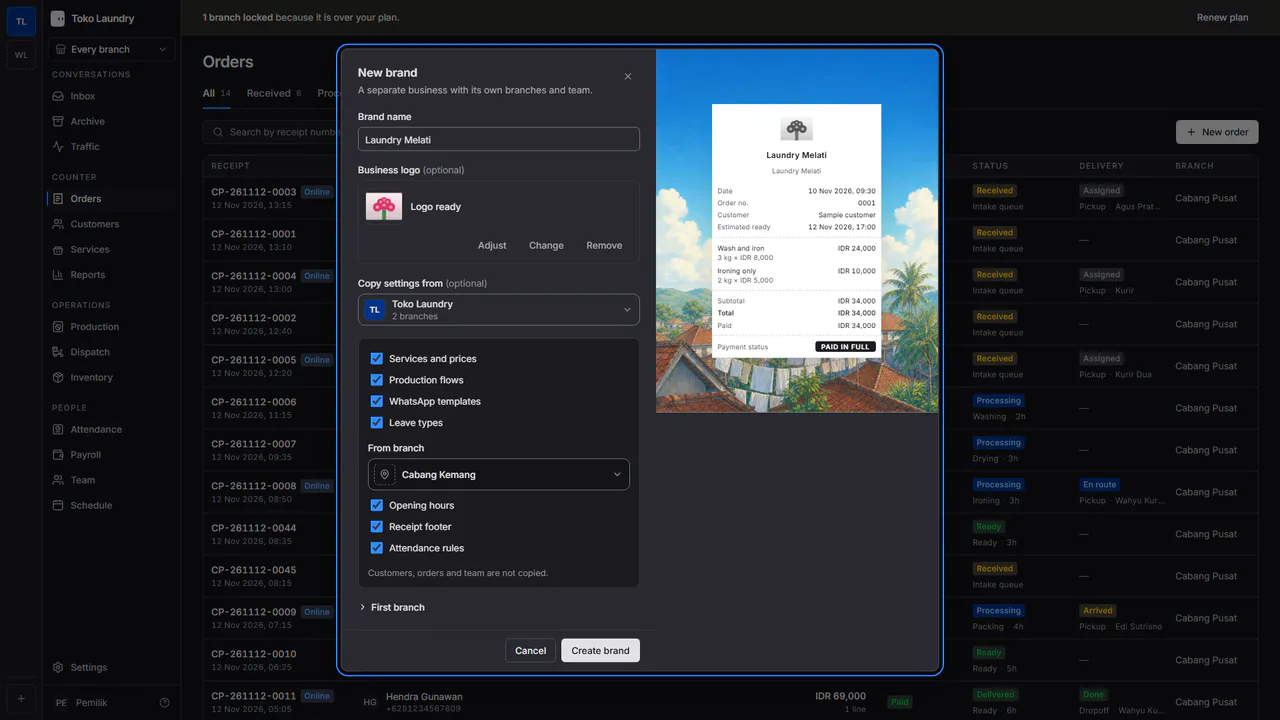
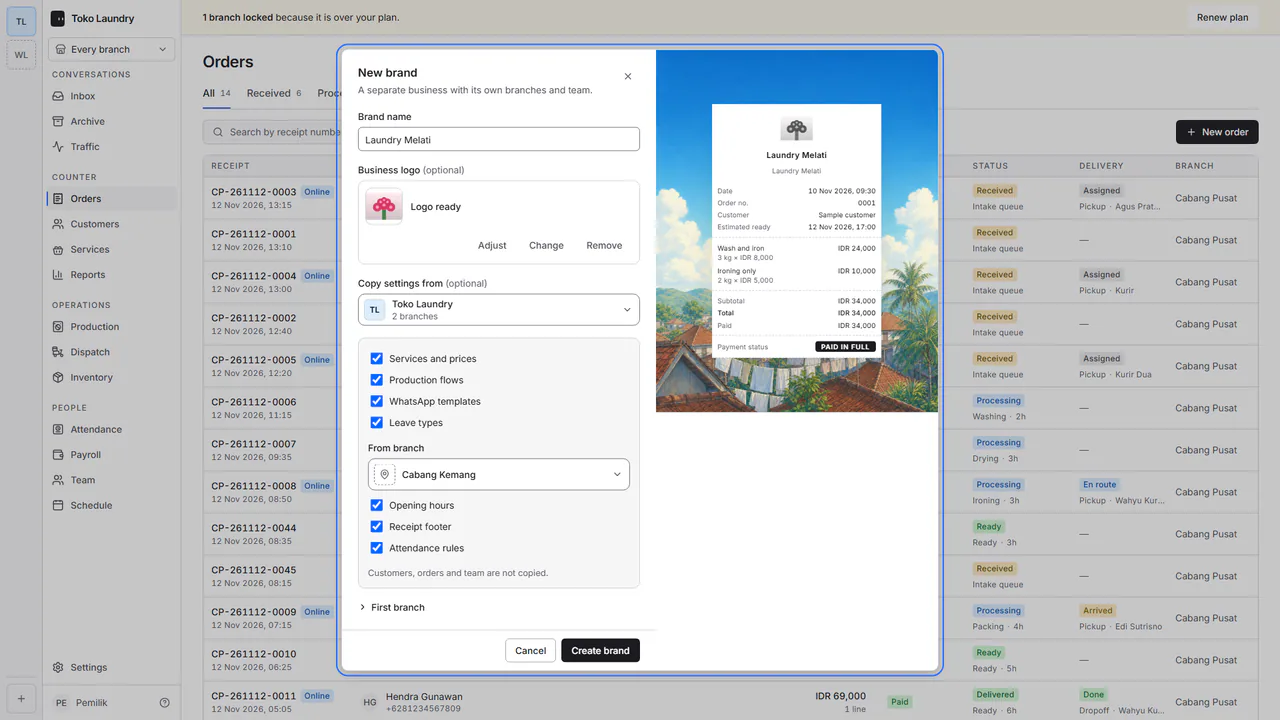
To found a new business, press + (New brand). Fill in Brand name. Business logo can be skipped: drag an image onto the logo box or press choose a file, then adjust it in the Adjust logo dialog. The sample receipt on the right uses that name and logo as you type. A new business starts with one branch from your plan, named after the brand unless you fill in First branch name under First branch.

To avoid starting from nothing, pick another business in Copy settings from. Only businesses where you are the owner or an admin appear there. Tick what to copy: Services and prices, Production flows, WhatsApp templates and Leave types. Then pick one branch in From branch to copy its Opening hours, Receipt footer and Attendance rules onto the first branch. Customers, orders, team, WhatsApp numbers, payout accounts, tracking API keys and per-branch prices are never copied. The copy is made once, when the brand is created; after that the two businesses stand apart. Press Create brand.
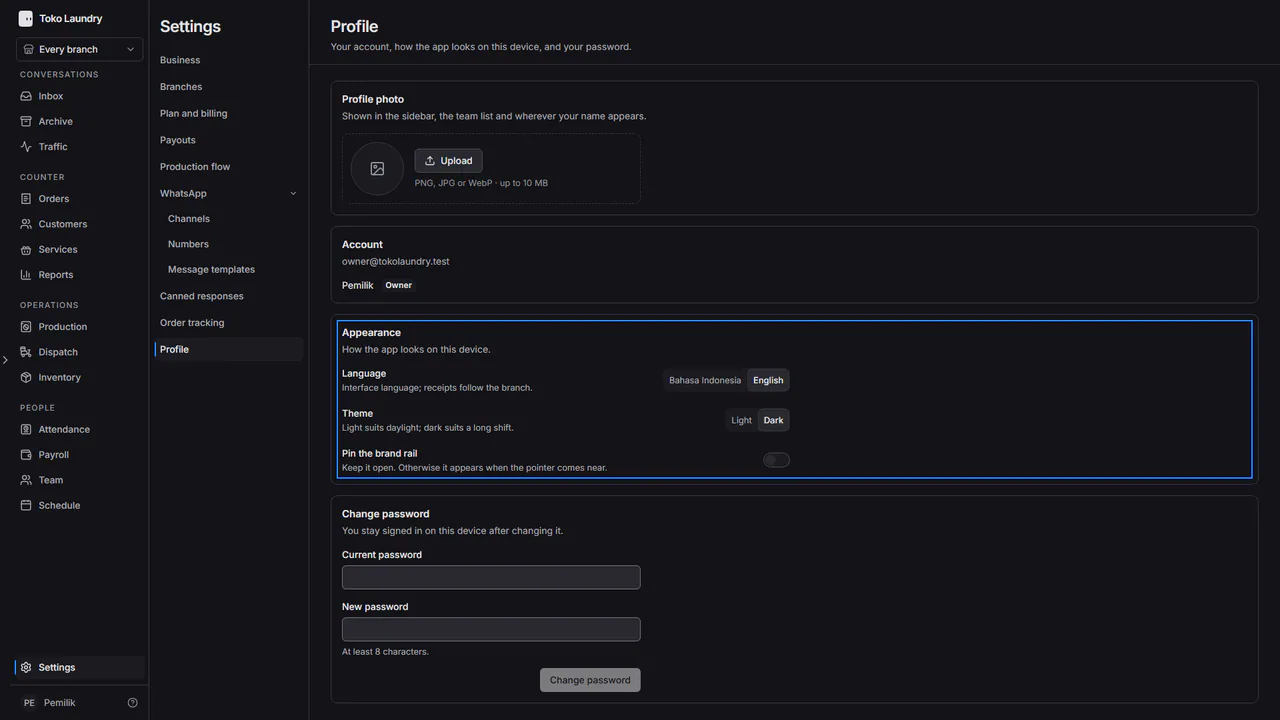
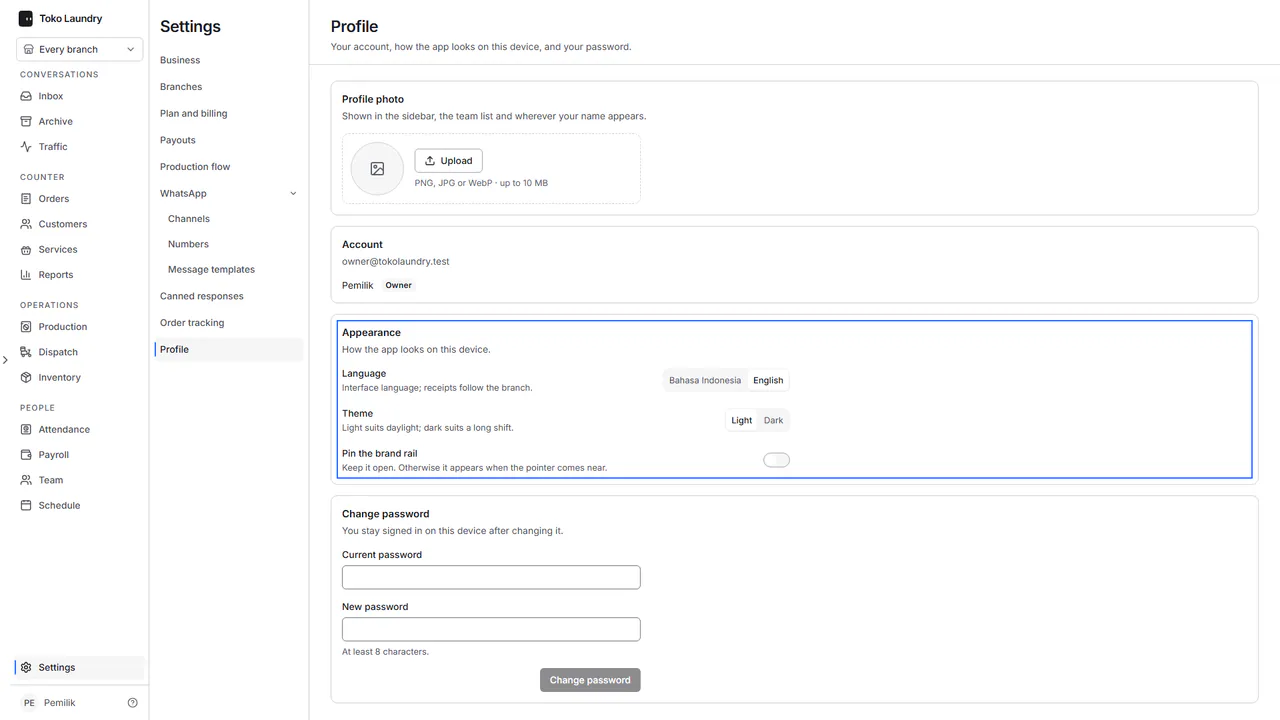
To keep the brand rail open, press your name at the bottom left, pick Profile, then turn on Pin the brand rail in the Appearance section. The choice holds on that device only.
Steps to pick a branch
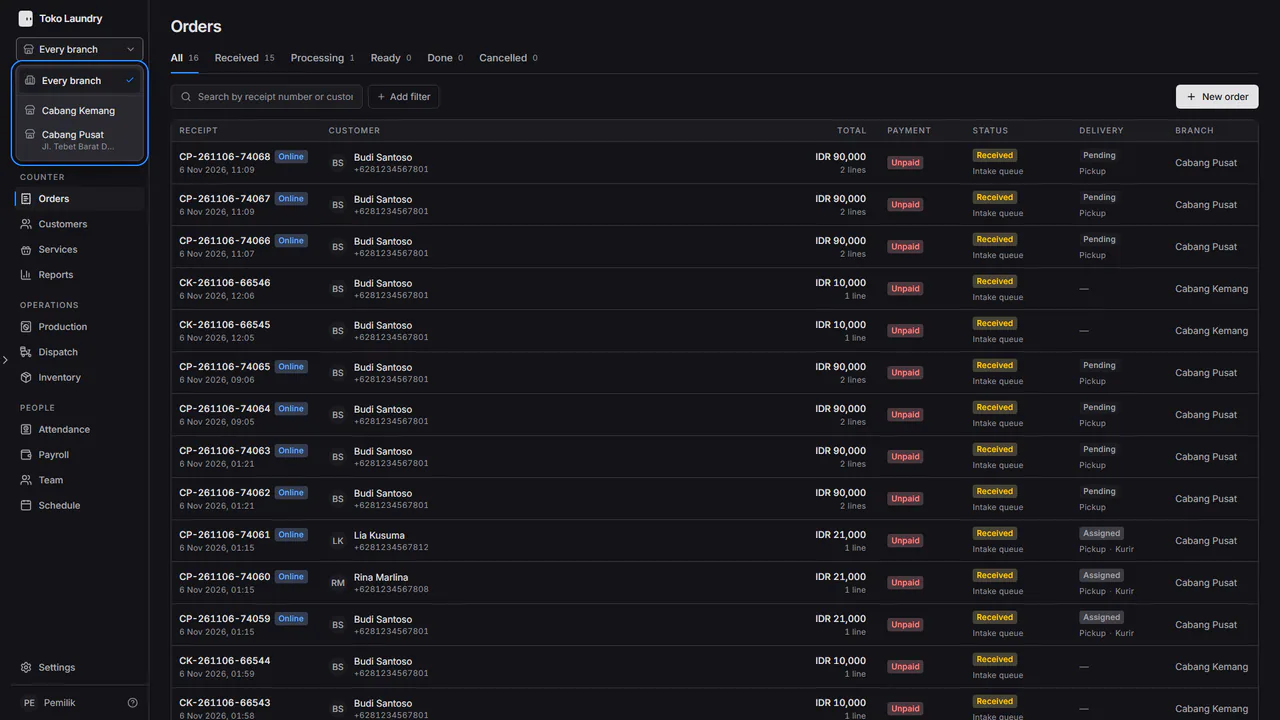
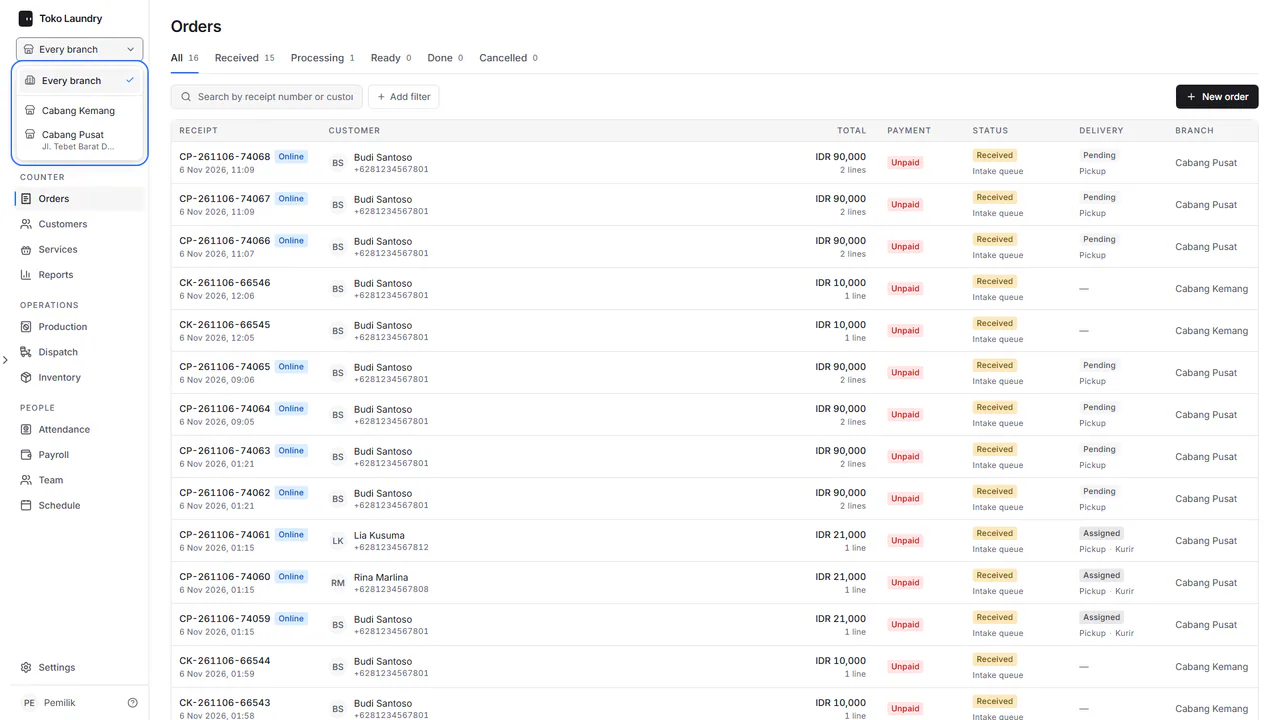
Press the branch picker under the business name, at the top of the sidebar.
Pick Every branch or one branch. The open page filters to that choice at once.
New order, the production board and the dispatch board always work on one branch, and open on the branch you picked last.
Steps to set prices per branch
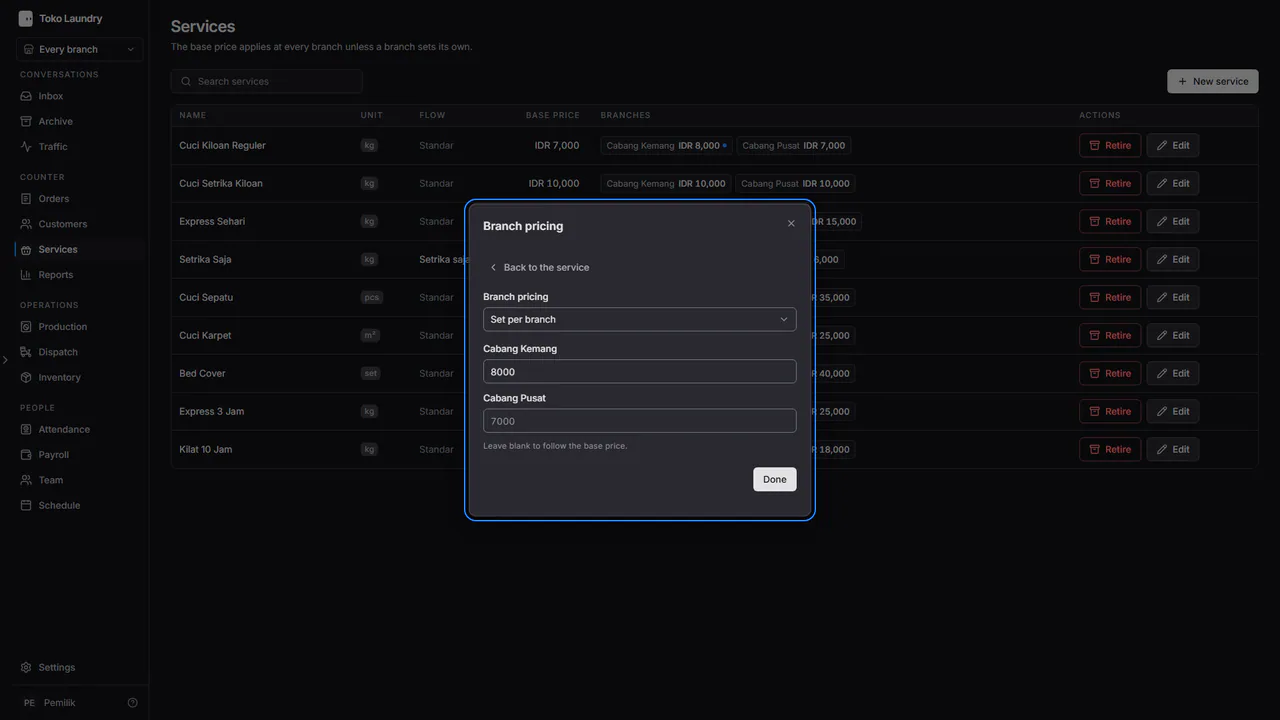
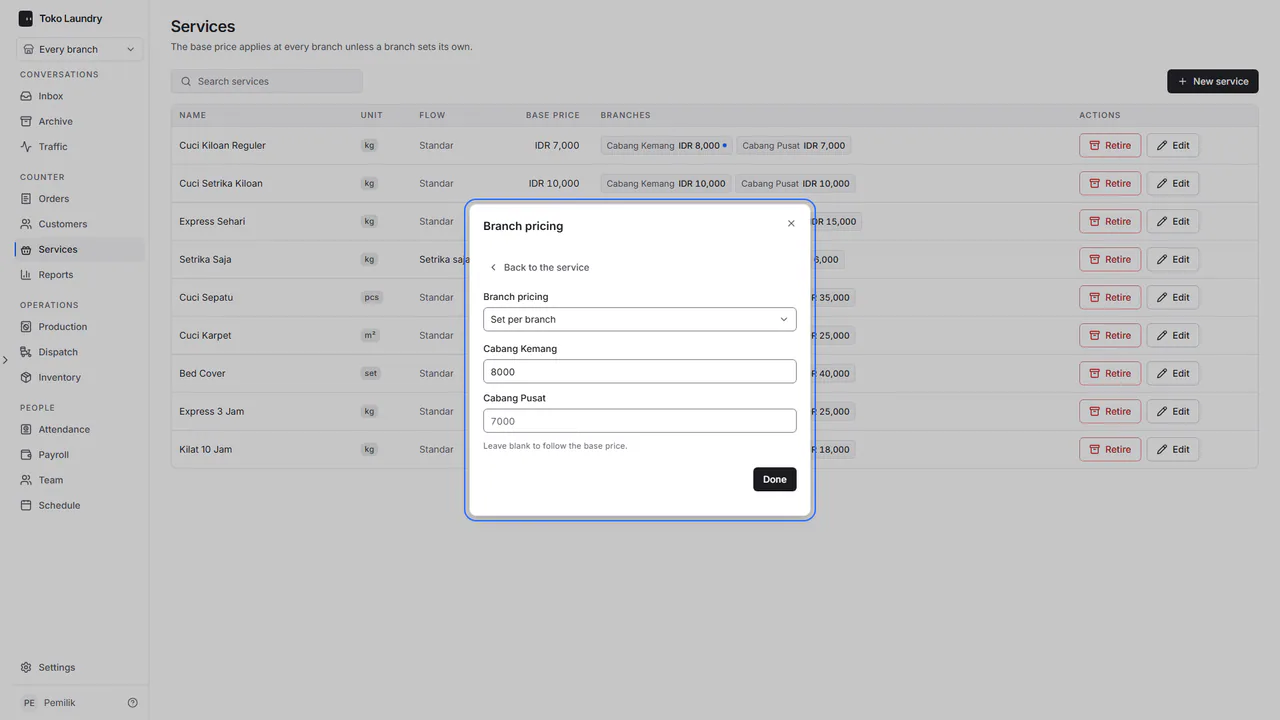
In Services, press a branch name in the Branches column of a service, then Set the per-branch price.
Fill in the price for each branch. Empty means it follows the base price.
The branch cap counts every business the same owner pays for. See plans and billing.